
Hey beautiful ladies! I’m so excited to share my passion for essential oil blending with you today. As someone who’s been obsessed with natural beauty and wellness for years, I can tell you that creating your own essential oil blends is one of the most rewarding DIY projects you’ll ever try.
Whether you want to create a signature scent, boost your mood, or just make your home smell amazing, this beginner-friendly guide will teach you everything you need to know about blending essential oils.
Table of Contents
Where Do I Start With Making Blended Essential Oils?
Starting your essential oils blending guide can feel overwhelming, but trust me – it’s easier than you think! I remember when I first got into aromatherapy, I was scared I’d mess up and waste my precious oils.
The best place to begin is with simple two or three oil combinations. Start small and work your way up to more complex blends as you gain confidence.
You don’t need expensive equipment or tons of oils to get started. I began my blending adventure with just five basic oils and a few small glass bottles.
Why Do People Blend Essential Oils?
There are so many amazing reasons why I love creating custom essential oil blends! First, blending oils lets you create unique scents that you can’t buy anywhere else.
When you combine different oils, you can target multiple benefits at once. For example, mixing lavender with peppermint gives you both relaxation and energy boost properties. Research shows that aromatherapy is potentially effective for pain management and blood pressure reduction.
Blending also helps you save money. Instead of buying separate products for different needs, you can create one blend that does it all.
Plus, it’s incredibly fun and creative! I love experimenting with different combinations and discovering new favorite scents. Learn more about the science behind aromatherapy benefits from Johns Hopkins research.
Three Ways of Grouping Essential Oils
Understanding how to group essential oils is the secret to successful blending. There are three main ways I organize my oils when creating blends.
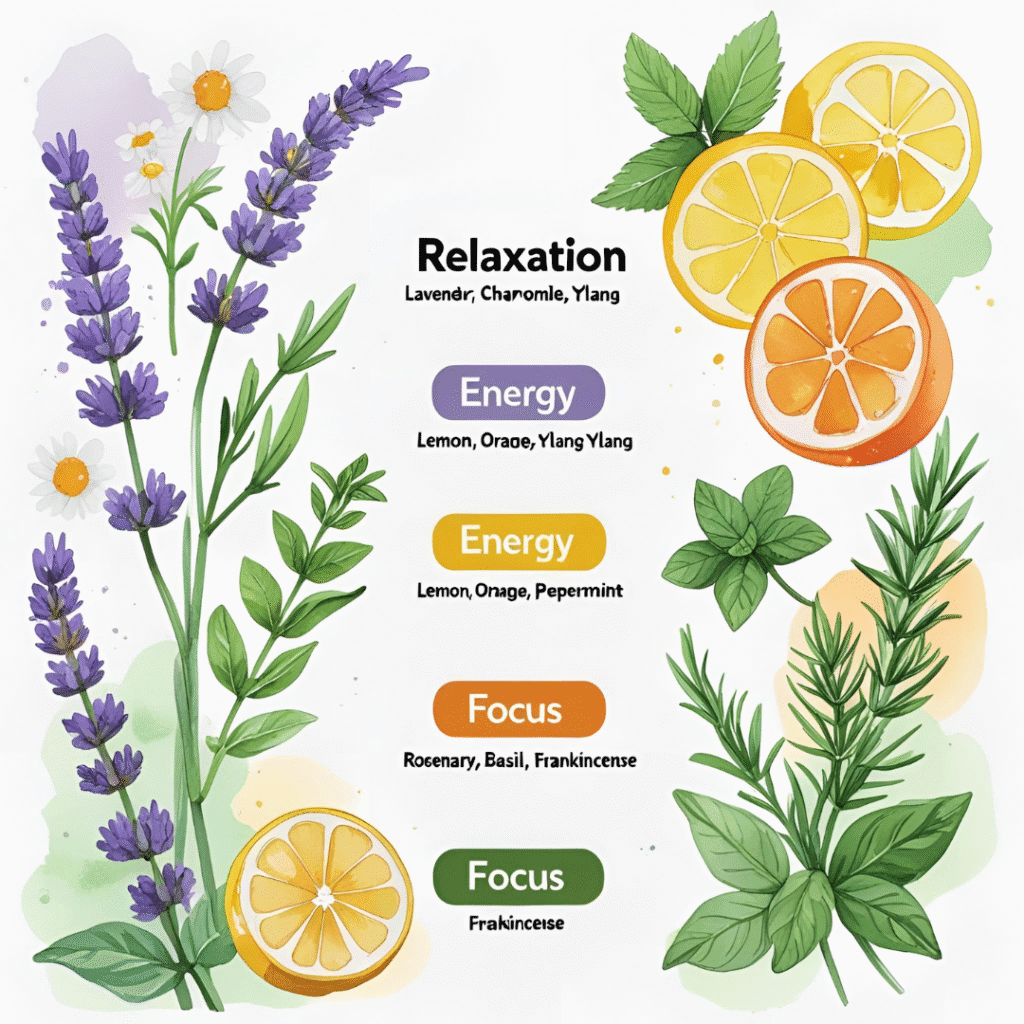
Blending Essential Oils by Effect
This is my go-to method when I want specific results. I group oils based on what they do for my mind and body.
For relaxation blends, I reach for lavender, chamomile, and ylang ylang. These calming oils work beautifully together to create peaceful blends.
When I need energy-boosting blends, I grab citrus oils like lemon, orange, and grapefruit. Peppermint and eucalyptus also give amazing energy boosts.
For focus and concentration, rosemary, basil, and frankincense are my top picks. These oils help clear mental fog and improve alertness. Discover more wellness tips for busy women on our blog.
Blending Essential Oils by Fragrance
Grouping oils by scent family makes it super easy to create harmonious blends. Similar scents naturally complement each other.
Floral oils like rose, geranium, and jasmine blend beautifully together. These create romantic, feminine scents perfect for date nights.
Citrus oils such as bergamot, lime, and sweet orange make fresh, uplifting blends. I love these for morning energy boosts.
Woody oils like cedarwood, sandalwood, and pine create grounding, earthy blends. These are perfect for meditation and relaxation.
Herbal oils including basil, thyme, and oregano work well together for clean, fresh scents.
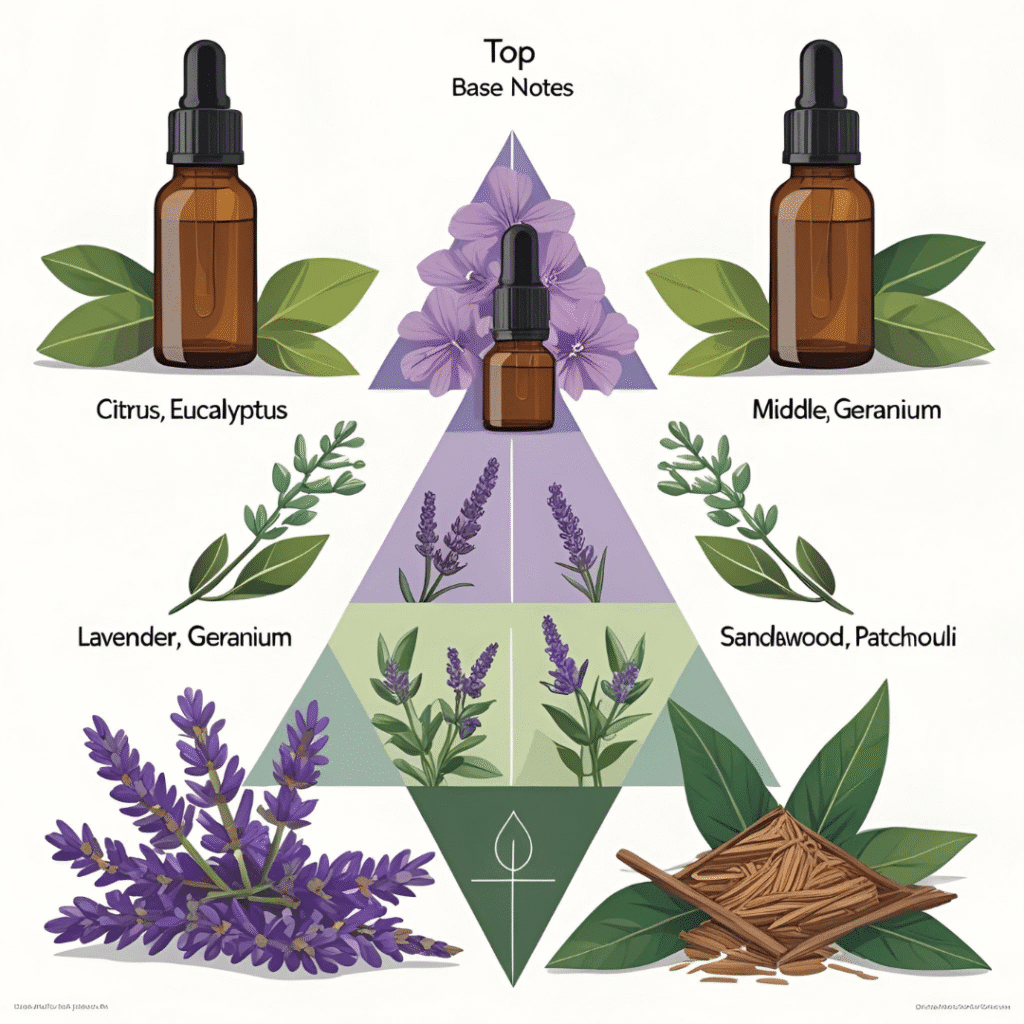
Blending Essential Oils by Note
This is the most sophisticated way to blend oils, and once you master it, your blends will smell incredibly professional.
Top notes are the first scents you smell. They’re light and fresh but fade quickly. Think citrus oils, peppermint, and eucalyptus.
Middle notes form the heart of your blend. They last longer and include most floral and herbal oils like lavender, geranium, and rosemary.
Base notes are deep, rich scents that last the longest. These include woody oils like sandalwood, patchouli, and frankincense.
For a balanced blend, I use about 30% top notes, 50% middle notes, and 20% base notes.
Time to Start Blending
Now comes the fun part – actually creating your DIY aromatherapy blends! I always feel like a mad scientist when I’m mixing oils in my little home lab.
Start with your base note first, then add your middle notes, and finish with your top notes. This helps create a more balanced final scent.
Don’t rush the process. I like to add one drop at a time, smell, and then decide if I need more of that particular oil.
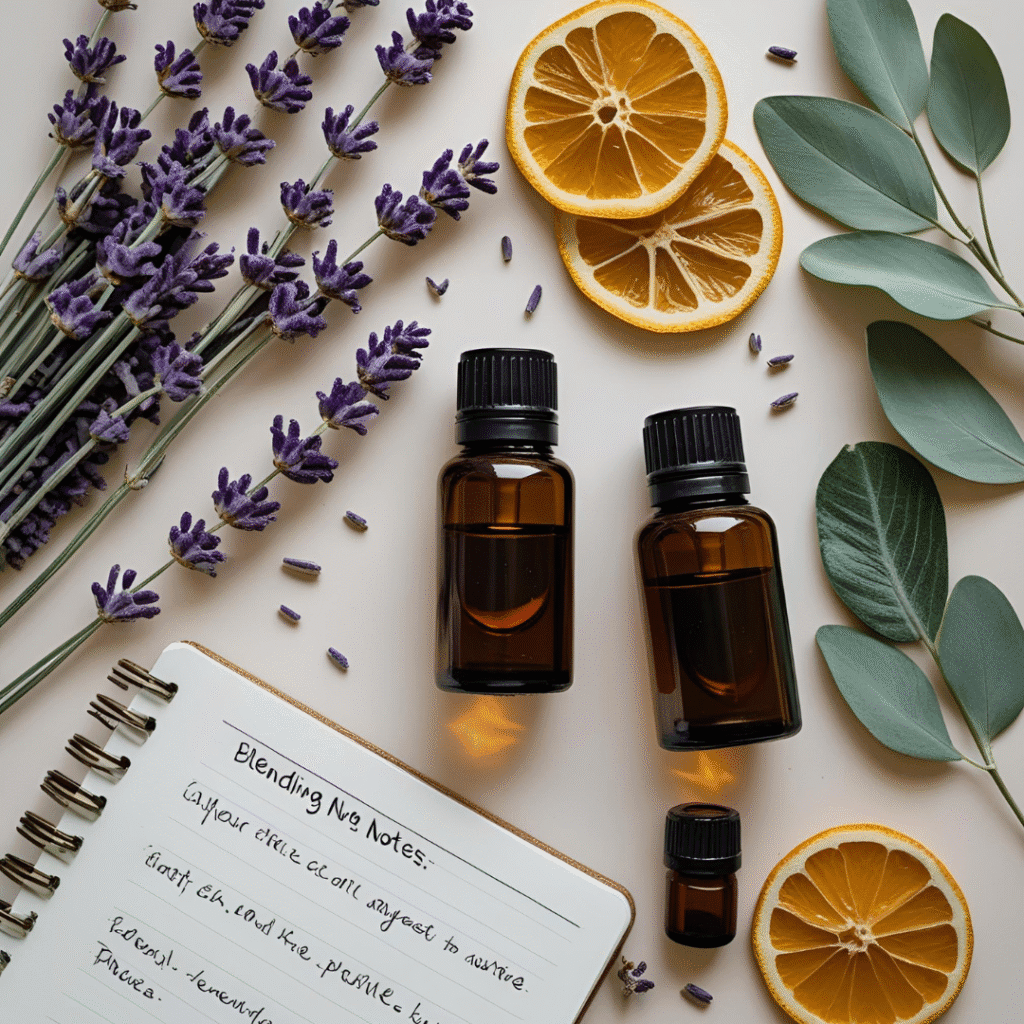
What You’ll Need
You don’t need much to start your essential oil blending journey. Here’s what I keep in my blending kit:
Small glass bottles (5-10ml work great for testing). Never use plastic bottles as essential oils can break down plastic over time.
Glass droppers or pipettes for accurate measuring. These help you control exactly how many drops you’re adding.
Small labels to identify your blends. Trust me, you’ll forget what you put in each bottle otherwise!
A notebook to record your essential oil recipes. I wish I’d started doing this from day one!
Cotton swabs or scent strips for testing blends without committing to a full bottle.
A carrier oil like jojoba or sweet almond oil if you plan to use your blends on skin. Read our guide to carrier oils for more options.
Testing Your Blend
Testing is the most important step that many beginners skip. I learned this lesson the hard way when I made a whole bottle of something that smelled terrible!
Start by making tiny test batches with just 3-5 drops total. You can scale up successful blends later.
Let your blend sit for at least 24 hours before making final judgments. Essential oils need time to marry and develop their full scent.
Test your blend at different times of day. Scents can smell different in morning versus evening.
Ask friends and family for their honest opinions. Sometimes we get nose-blind to our own creations.
How Many Drops of Essential Oils to Use Per Blend
Getting the ratios right is crucial for successful blending. I’ve learned through trial and error what works best.
For a 10ml bottle, I typically use 15-20 drops total of essential oils when creating a pure essential oil blend.
If you’re adding carrier oil, use no more than 3-5% essential oils. That’s about 6-10 drops per 10ml of carrier oil.
Start with fewer drops and add more if needed. You can always add more, but you can’t take oils out once they’re mixed.
For diffuser blends, I usually use 2-4 drops per oil, depending on how strong I want the scent.
Begin Blending
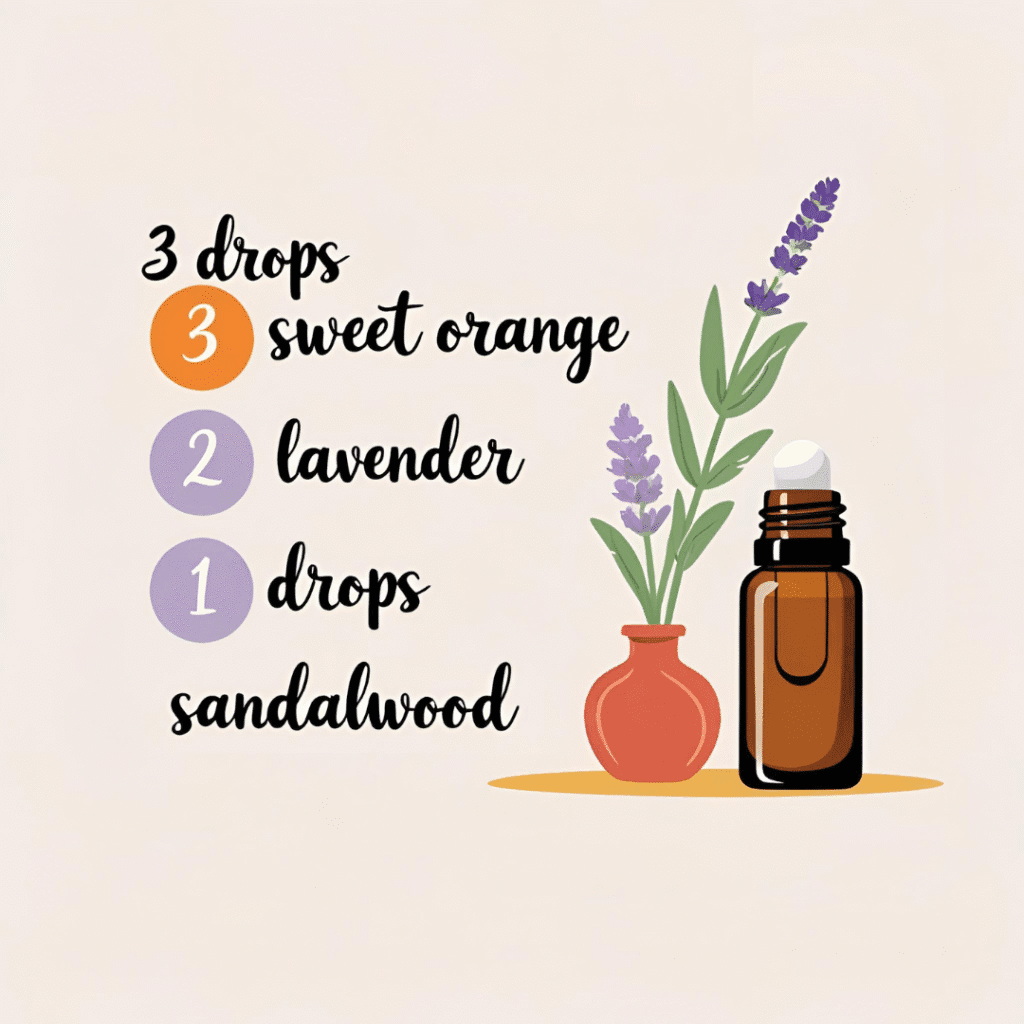
Ready to create your first blend? I’m going to walk you through my favorite beginner-friendly recipe.
My “Happy Morning” blend combines 3 drops sweet orange (top note), 2 drops lavender (middle note), and 1 drop sandalwood (base note).
Start by adding the sandalwood to your bottle first. Then add the lavender, and finish with the sweet orange.
Give the bottle a gentle roll between your palms to mix the oils. Avoid shaking as this can break down the delicate oil molecules.
Let it sit overnight, then test it the next day. This blend always makes me feel cheerful and ready to tackle my day!
Top Tips for Successful Blending
After years of blending oils, I’ve learned some tricks that make the process much easier and more successful.
Less is more when you’re starting out. It’s better to create simple, beautiful blends than complex ones that don’t work well together.
Keep detailed notes of everything you try. I use a small notebook where I write down each recipe, how it smelled, and whether I liked it.
Don’t be afraid to experiment! Some of my best blends happened by accident when I was just playing around.
Buy oils from reputable suppliers only. Poor quality oils will never create good blends, no matter how perfect your ratios are. Some trusted brands include Rocky Mountain Oils and other reputable essential oil companies known for their quality and purity.
Store your finished blends in dark glass bottles away from heat and light. This helps preserve their potency.
Trust your nose! If something doesn’t smell right to you, it probably isn’t. Don’t feel pressured to like popular combinations.
Essential Oil Safety Tips
Before diving deeper into blending, let’s talk about essential oil safety. This is something I wish I’d learned earlier in my journey.
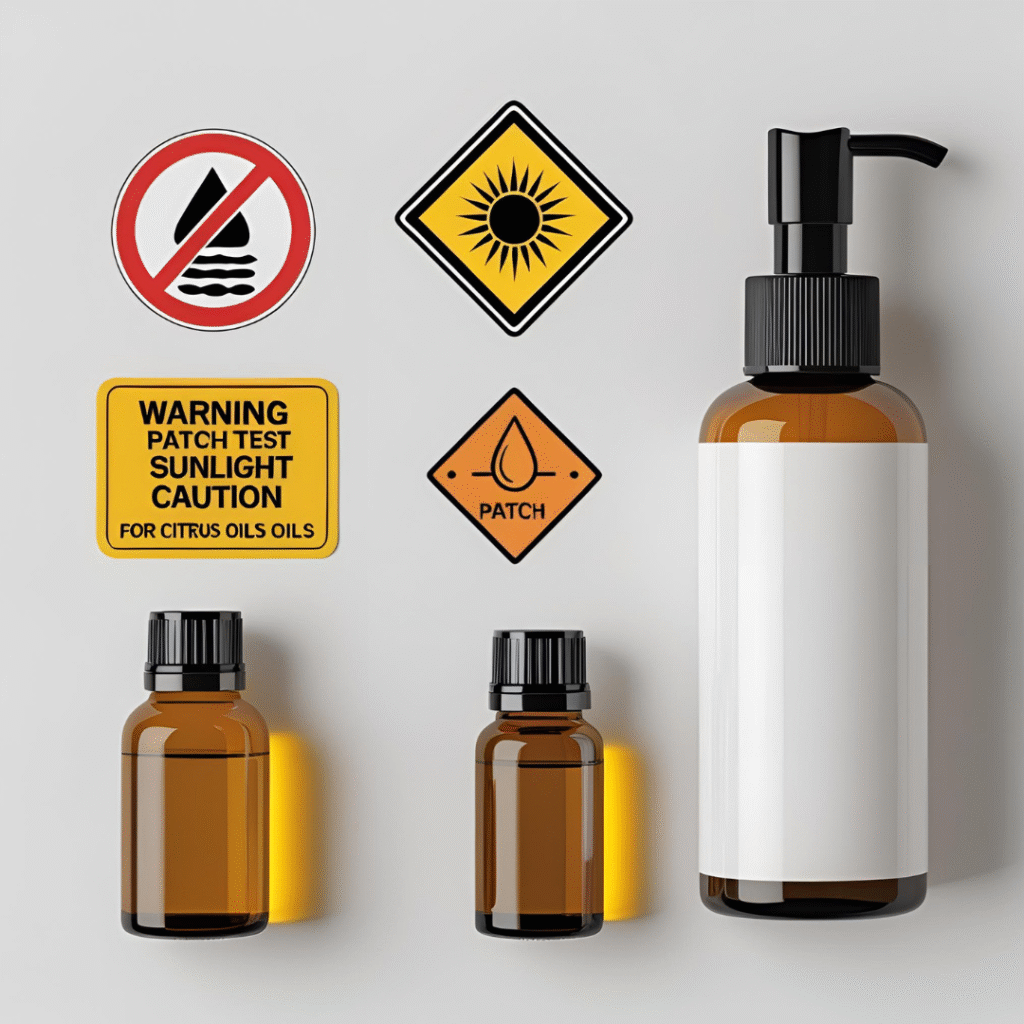
Always dilute essential oils before applying to skin. Pure essential oils can cause irritation or allergic reactions.
Do a patch test before using any new blend on your skin. Apply a small amount to your wrist and wait 24 hours.
Some oils are photosensitive, meaning they can cause skin reactions when exposed to sunlight. Citrus oils are particularly known for this.
Pregnant women should consult healthcare providers before using essential oils. Many oils aren’t safe during pregnancy.
For more detailed safety information, check out essential oil safety guides or consult resources from the National Association for Holistic Aromatherapy.
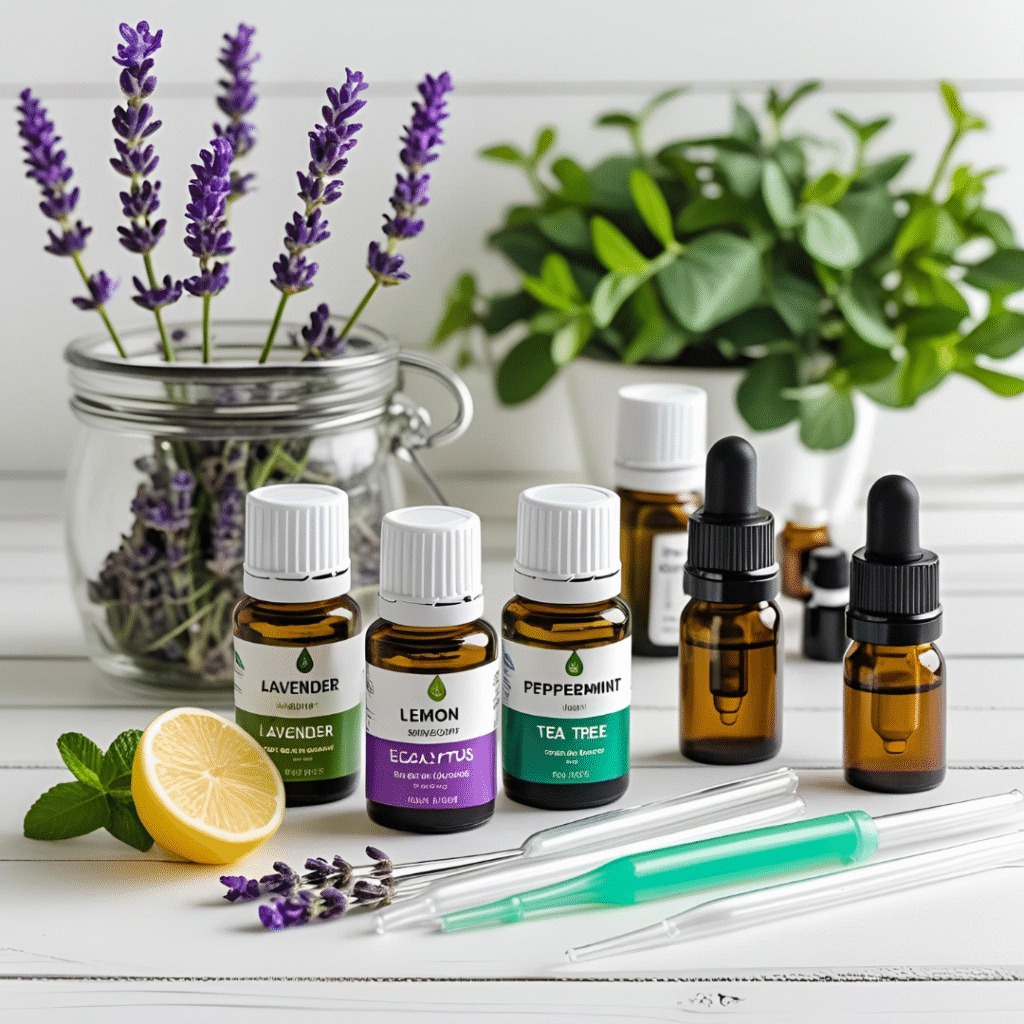
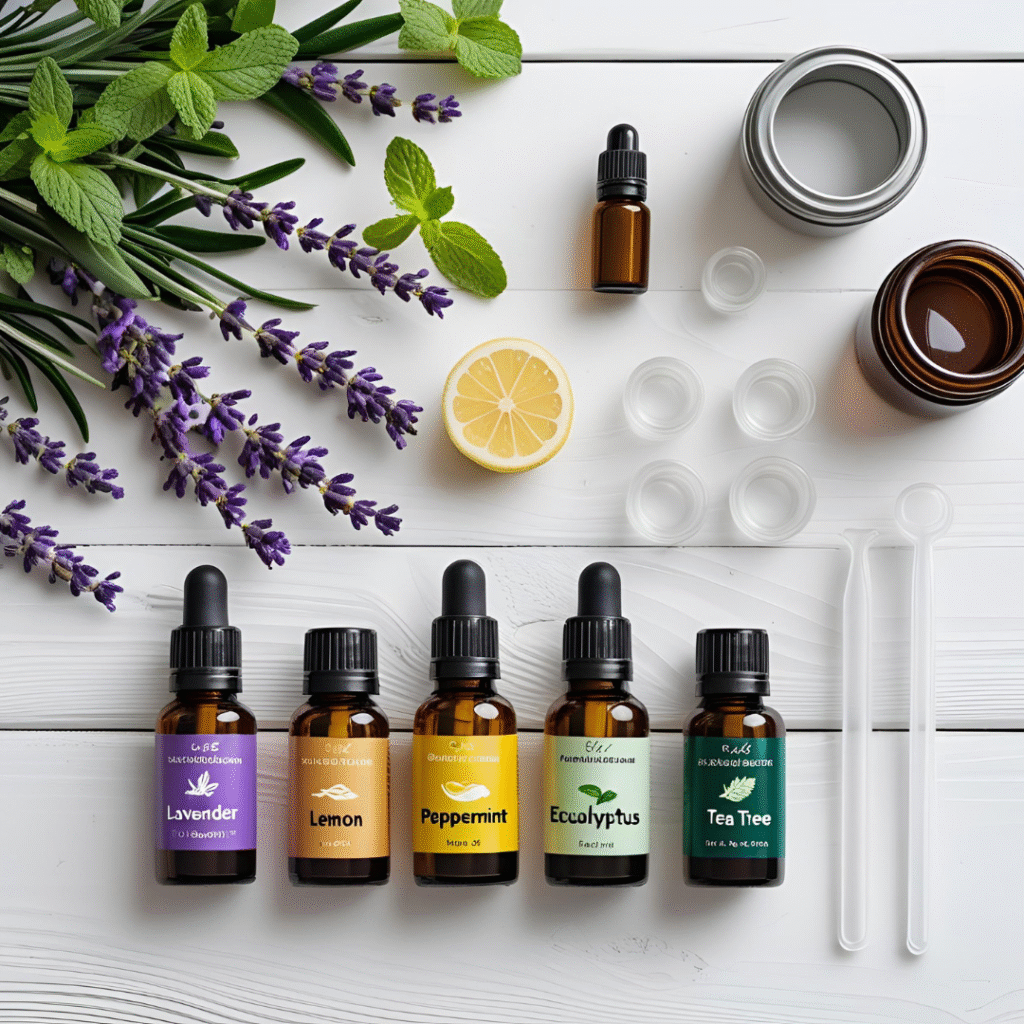
Best Essential Oils for Beginners
If you’re just starting your essential oil collection, here are my top recommendations for beginner-friendly oils:
- Lavender – The ultimate multitasker. Great for relaxation, sleep, and skin care.
- Lemon – Uplifting and energizing. Perfect for morning blends and cleaning.
- Peppermint – Cooling and invigorating. Excellent for focus and headache relief.
- Eucalyptus – Refreshing and clearing. Amazing for respiratory support.
- Tea Tree – Powerful and purifying. Great for skin issues and cleaning blends.
These five oils will give you endless blending possibilities and are generally safe for most people when used properly.
Creating Seasonal Blends
One of my favorite things about essential oil blending is creating seasonal scents that match the mood of each time of year.
- Spring blends call for fresh, floral scents like geranium, bergamot, and lemon. These capture the feeling of new growth and renewal.
- Summer blends are all about citrus and mint. Try combining grapefruit, lime, and peppermint for an energizing summer blend.
- Fall blends embrace warm, spicy scents. Cinnamon, orange, and cedarwood create the perfect autumn atmosphere.
- Winter blends focus on cozy, grounding scents. Frankincense, pine, and vanilla make beautiful cold-weather blends.
Check out our seasonal home decor tips to learn how to incorporate your blends into your home styling.
FAQs
Can I blend any essential oils together?
While most essential oils can be blended together safely, some combinations work better than others. Oils from the same fragrance family usually blend well together. Always research any oils you’re unfamiliar with, and start with small test batches. Some oils like oregano or cinnamon are very potent and should be used sparingly.
How long do essential oil blends last?
Properly stored essential oil blends can last 2-3 years. Keep them in dark glass bottles, away from heat and light. Citrus oils tend to have shorter shelf lives, so blends containing them may only last 1-2 years. Always check for changes in smell or appearance before using older blends.
What’s the difference between essential oil blends and fragrance oils?
Essential oil blends are made from pure, natural plant extracts with therapeutic properties. Fragrance oils are synthetic and often contain chemicals. For aromatherapy benefits, always choose pure essential oil blends. They’re more expensive but offer genuine wellness benefits.
Can I use essential oil blends directly on my skin?
Never apply undiluted essential oils directly to skin. Always dilute them in a carrier oil first. A safe dilution is 2-3% for adults, which equals about 12-18 drops per ounce of carrier oil. Children and elderly people need even lower concentrations.
How do I know if my essential oil blend is too strong?
If your blend gives you a headache, makes you feel nauseous, or seems overwhelming, it’s too strong. Dilute it with more carrier oil or use fewer drops in your diffuser. Some people are more sensitive to certain oils, so always start with less and build up.
Can I blend essential oils for pregnancy?
Many essential oils are not safe during pregnancy. Always consult with your healthcare provider before using essential oils while pregnant or breastfeeding. Some generally safe options include lavender and citrus oils in very small amounts, but professional guidance is essential.
What’s the best ratio for a three-oil blend?
For a balanced three-oil blend using the note system, try 30% top note, 50% middle note, and 20% base note. For example, in a 10-drop blend, use 3 drops top note, 5 drops middle note, and 2 drops base note. This creates a well-rounded scent that develops beautifully over time.
How do I fix a blend that doesn’t smell good?
If your blend smells off, try adding a small amount of lavender, which tends to harmonize other scents. You can also add a citrus oil to brighten heavy blends, or a base note to ground light, flighty blends. Sometimes letting the blend sit for a few days can improve the scent.
Can I make essential oil blends for my diffuser and skin use?
Yes, but you’ll need different dilution ratios. For diffusers, you can use undiluted essential oil blends. For skin use, always dilute your blend in a carrier oil first. I recommend making separate batches for each use to ensure proper dilution and safety.
Conclusion
Creating your own essential oil blends is one of the most enjoyable and rewarding DIY projects you can try. It’s a perfect way to express your creativity while enjoying the amazing benefits of aromatherapy.
Remember, there’s no right or wrong way to blend oils – it’s all about what smells good to you and makes you feel amazing. Start simple, keep notes of your experiments, and don’t be afraid to try new combinations.
I hope this essential oils blending guide has inspired you to start your own journey. Trust me, once you create your first perfect blend, you’ll be hooked just like I am!
The world of essential oils is vast and exciting. Take your time exploring different scents and combinations. Before you know it, you’ll have a whole collection of custom blends that are uniquely yours.
Happy blending, beautiful ladies! I can’t wait for you to discover the joy of creating your own signature scents.


Leave a Reply