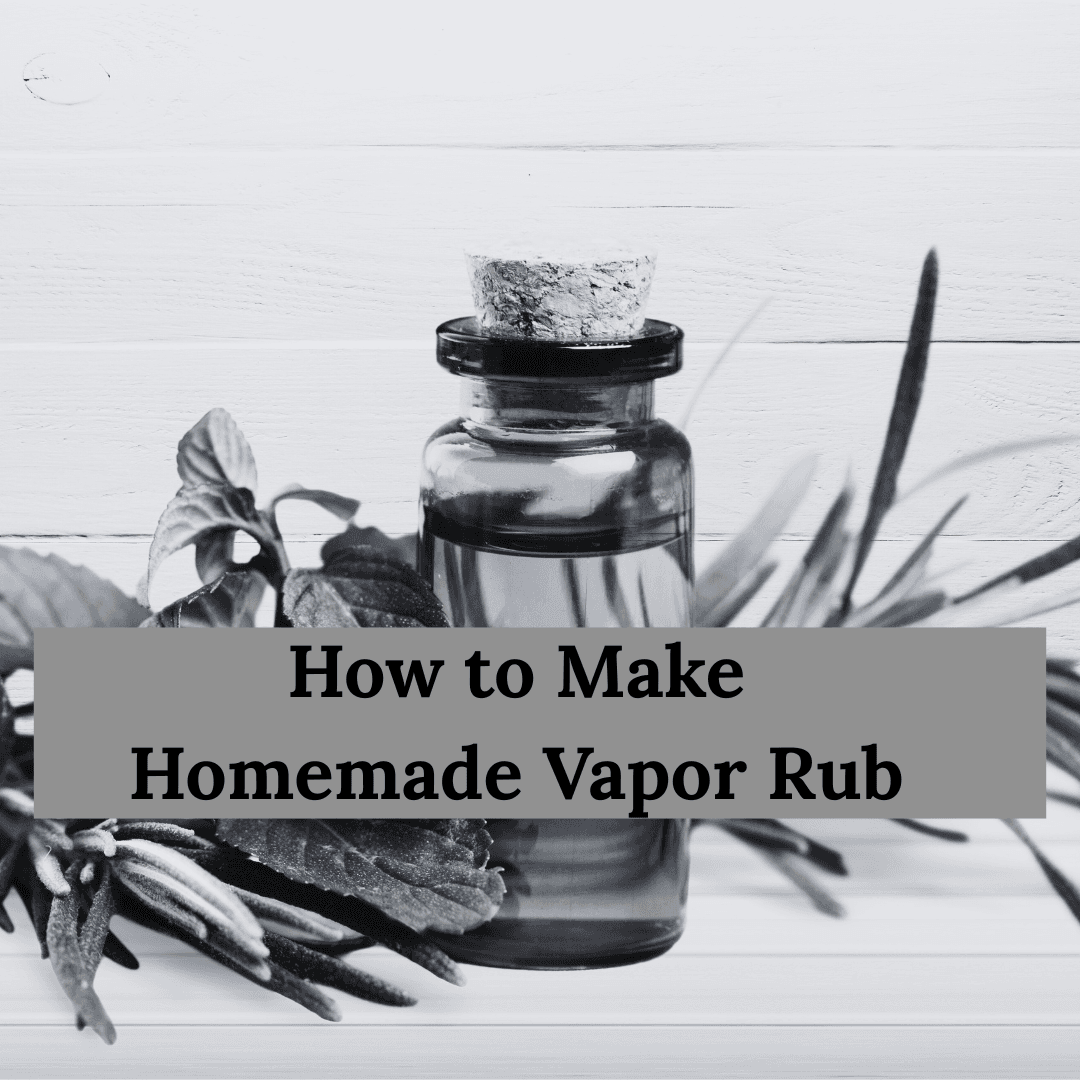
Hey gorgeous! I can’t tell you how many times I’ve reached for that blue jar of store-bought vapor rub when I’m feeling under the weather. But here’s what I discovered – making your own homemade vapor rub is not only super easy, it’s also way better for your skin and health!
I started making my own DIY vapor rub last winter when my little one kept getting those nasty colds. Now I swear by these natural chest rub recipes that work just as well (if not better) than the commercial stuff. Plus, I get to use my favorite essential oils in the perfect blend!
Table of Contents
Why Make Your Own Vapor Rub?
Let me share why I fell in love with making homemade vapor rub. First, you know exactly what’s going on your skin. No weird chemicals or synthetic ingredients that I can’t pronounce!
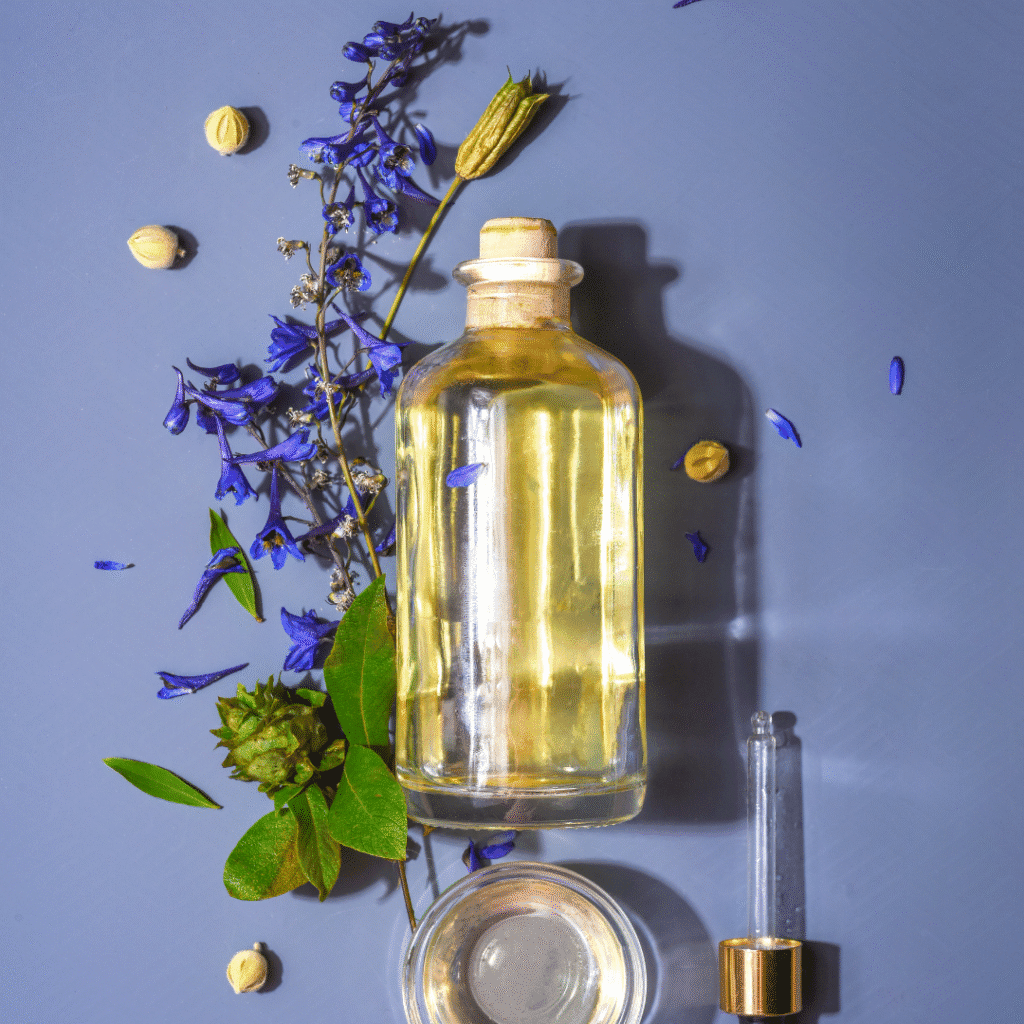
Store-bought vapor rubs often contain petroleum jelly and artificial fragrances. My natural vapor rub uses carrier oils, essential oils, and other clean ingredients that actually nourish your skin while helping you breathe better.
Plus, it’s so much cheaper! One batch lasts me months and costs a fraction of what I used to spend on the commercial version. According to Wellness Mama, DIY chest rub can save you up to 70% compared to store-bought alternatives.
How to Make Homemade Vapor Rub: The Basics
Making DIY chest rub is actually pretty simple. You need three main things:
A carrier oil base (like coconut oil or olive oil) Something to thicken it (beeswax or shea butter) Essential oils for the therapeutic benefits
The process is straightforward – melt, mix, and pour! I’ll walk you through different recipes below, but the method is always similar. If you’re new to essential oil blending, check out my essential oils blending guide for more tips!
Simple Homemade Vapor Rub Recipes
Basic DIY Vapor Rub Recipe
This is my go-to natural vapor rub recipe that I make every cold season:
Ingredients:
- 1/4 cup coconut oil
- 2 tablespoons beeswax pellets
- 15 drops eucalyptus essential oil
- 10 drops peppermint essential oil
- 5 drops lavender essential oil
Instructions:
- Melt coconut oil and beeswax in a double boiler
- Remove from heat and let cool for 2 minutes
- Stir in essential oils
- Pour into a clean glass jar
- Let it set at room temperature
This homemade chest rub works amazing for congestion relief and helps me sleep so much better when I’m sick! The eucalyptus oil is especially great for sinus infections.
How to Use Your DIY Vapor Rub
Using your natural chest rub is just like the store-bought version. I rub a small amount on my chest, back, and under my nose before bed.
For kids over 2 years old, I use a gentler version with less essential oils. Always do a patch test first to make sure there’s no skin irritation.
The scent helps clear my sinuses instantly, and the warming sensation on my chest feels so soothing. It’s like having a natural decongestant right at your fingertips!
Homemade Vapor Rub with Vaseline
If you want something closer to the traditional texture, you can make a DIY vapor rub with petroleum jelly:
Ingredients:
- 1/2 cup petroleum jelly
- 10 drops eucalyptus oil
- 8 drops peppermint oil
- 5 drops tea tree oil
Just warm the petroleum jelly slightly and mix in the oils. This version has that familiar thick consistency we’re used to. However, I prefer using natural alternatives since they’re better for your skin!
Homemade Vapor Rub with Camphor
For a more traditional approach, some people like adding camphor to their natural vapor rub:
Ingredients:
- 1/4 cup coconut oil
- 2 tablespoons beeswax
- 1/4 teaspoon camphor (use sparingly)
- 10 drops eucalyptus oil
Remember, camphor can be strong, so use very little and avoid this version for children under 2. As Dr. Axe notes, camphor should be used with caution and in minimal amounts.
Homemade Vapor Rub Without Beeswax
Don’t have beeswax? No problem! I make this beeswax-free version when I’m out of beeswax:
Ingredients:
- 1/4 cup coconut oil (solid at room temperature)
- 2 tablespoons shea butter
- 15 drops eucalyptus oil
- 10 drops peppermint oil
The shea butter helps thicken this natural chest rub perfectly. It’s actually my favorite texture! Learn more about different carrier oils you can use as alternatives.
Homemade Vapor Rub with Coconut Oil
Coconut oil is my favorite base for DIY vapor rub because it has natural antimicrobial properties:
Coconut Oil Vapor Rub Recipe:
- 1/3 cup coconut oil
- 1 tablespoon beeswax
- 12 drops eucalyptus essential oil
- 8 drops peppermint essential oil
- 5 drops rosemary essential oil
This version smells incredible and feels so nourishing on the skin. The coconut oil base also has amazing benefits for skin health!
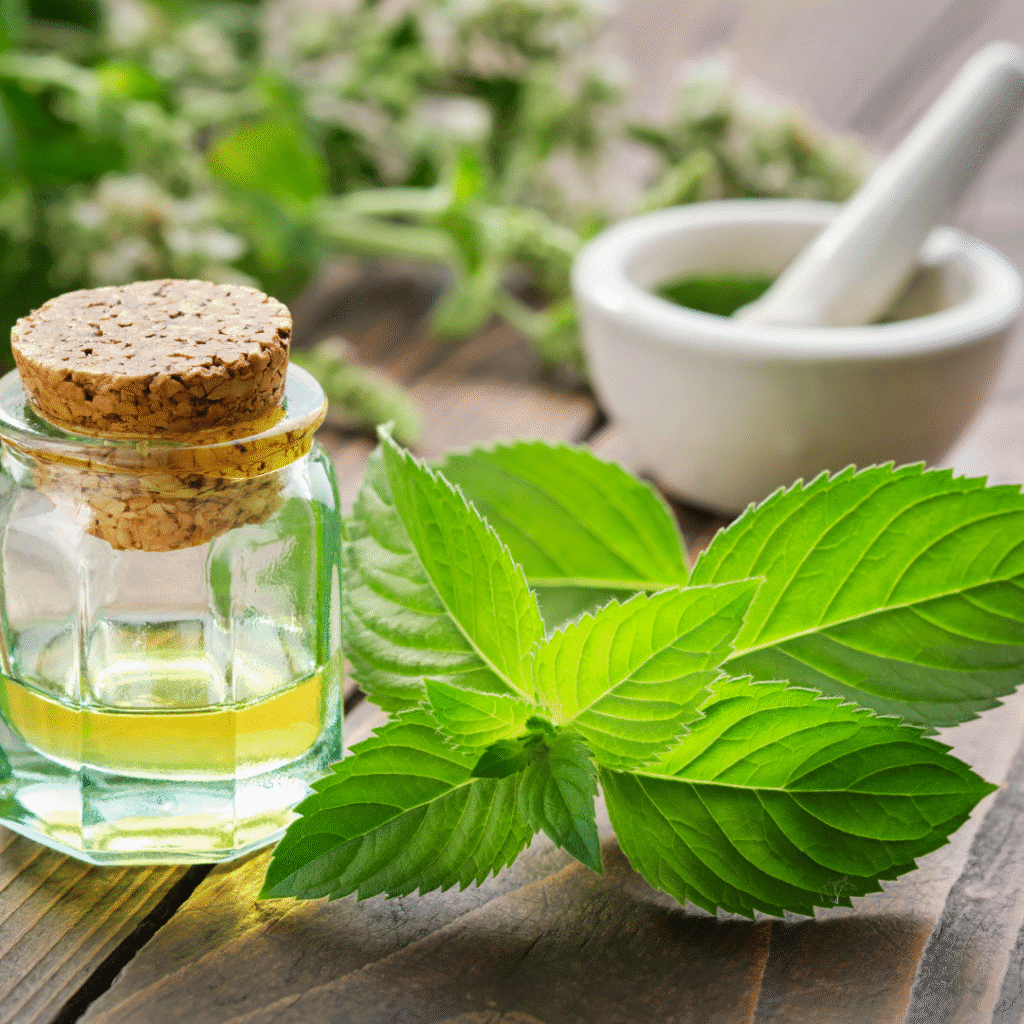
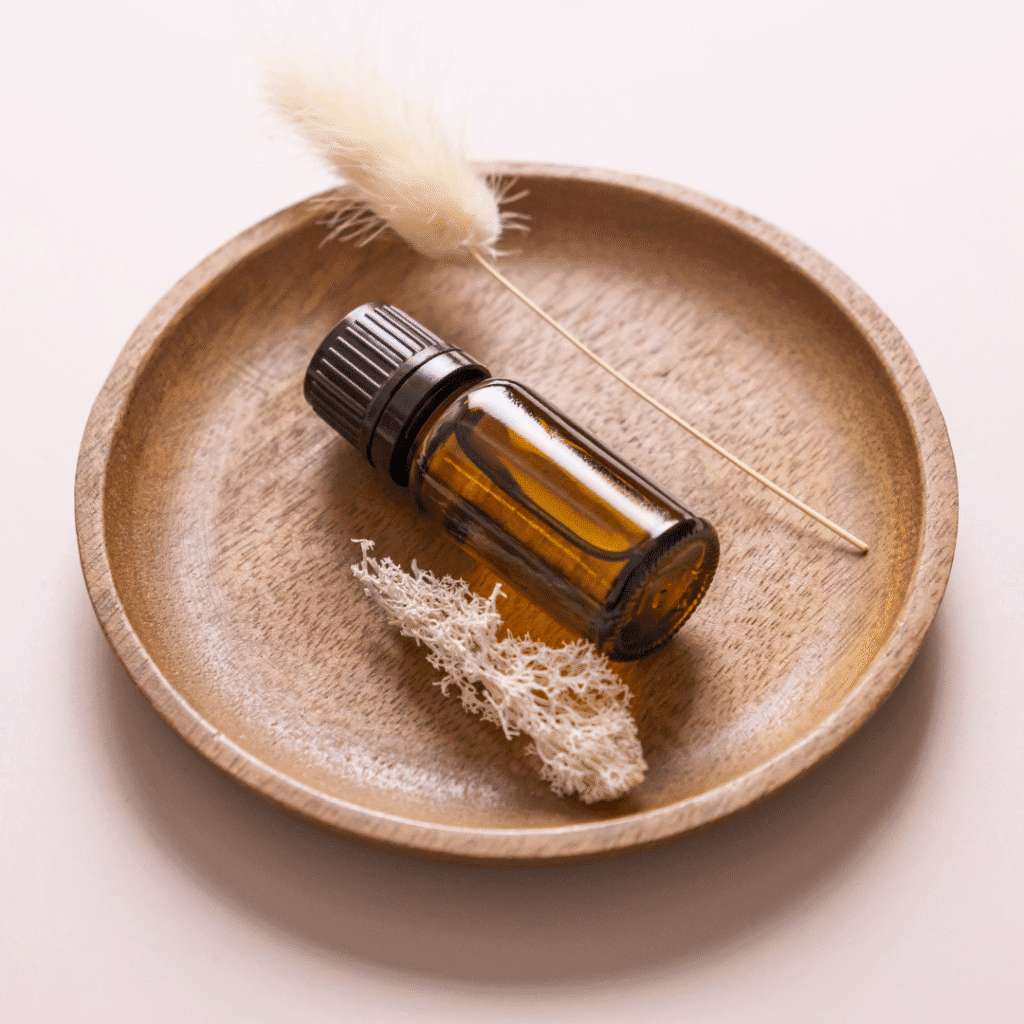
Essential Oils for Natural Vapor Rub
The magic of homemade vapor rub really comes from the essential oils. Here are my favorites:
Eucalyptus oil – This is a must-have for any DIY chest rub. It opens airways naturally and smells amazing. Perfect for sinus relief!
Peppermint oil – Gives that cooling, tingly feeling and helps with congestion. Did you know it also helps repel spiders?
Lavender oil – Adds a calming scent that helps with sleep. Check out my essential oil blends for sleep for more bedtime recipes!
Tea tree oil – Has natural antibacterial properties.
Rosemary oil – Great for respiratory support.
Always use high-quality essential oils and remember a little goes a long way!
Menthol Crystals for Extra Power
Want to take your homemade vapor rub to the next level? Try adding menthol crystals!
Menthol Crystal Recipe:
- 1/4 cup coconut oil
- 2 tablespoons beeswax
- 1/4 teaspoon menthol crystals
- 10 drops eucalyptus oil
Menthol crystals give that extra cooling sensation that really opens up your airways. Just crush them slightly before adding to help them dissolve better.
Storage and Shelf Life of DIY Vapor Rub
I store my homemade vapor rub in small glass jars with tight lids. They last about 6-12 months at room temperature.
Keep your natural chest rub away from heat and direct sunlight. I like to make small batches so they’re always fresh.
Label your jars with the date and ingredients – trust me, you’ll forget what oils you used! Consider making a room spray with similar oils to complement your vapor rub.
Benefits of Natural Vapor Rub
Switching to DIY vapor rub has been such a game-changer for my family. We’re not exposing ourselves to synthetic fragrances or petroleum-based products.
The essential oils provide natural antimicrobial benefits that the commercial versions don’t have. Plus, ingredients like coconut oil and shea butter actually moisturize your skin instead of just sitting on top.
I also love that I can customize the scent and strength based on what we need. It’s like having a personalized natural remedy in your medicine cabinet!
Safety Tips for Homemade Chest Rub
Always dilute essential oils properly – they’re powerful! For adults, 2-3% dilution is safe (about 12-18 drops per ounce of carrier oil).
Never use vapor rub on broken or irritated skin. And please don’t use it on babies under 3 months old.
If you’re pregnant or have health conditions, check with your doctor before using essential oils. Some oils aren’t recommended during pregnancy.
Troubleshooting Your DIY Vapor Rub
If your natural vapor rub is too soft, add more beeswax next time. Too hard? Use less beeswax or add more oil.
The scent too strong? Reduce the essential oils. Not strong enough? Add a few more drops, but do it gradually.
If it separates, it probably got too hot. Reheat gently and stir well. This is normal with natural ingredients!
Kid-Safe Natural Vapor Rub
For children over 2, I make a gentler version:
Kid-Safe Recipe:
- 1/4 cup coconut oil
- 2 tablespoons beeswax
- 5 drops eucalyptus oil
- 3 drops lavender oil
This homemade chest rub is much milder but still effective for little ones. The lavender oil helps them sleep better too!
Alternative Uses for Your Vapor Rub
Did you know your homemade vapor rub has other uses? Try it for:
- Mosquito bite relief (similar to how essential oils help with mosquito bites)
- Minor muscle aches
- Cracked heels
- Headache relief (apply to temples)
It’s like having a multi-purpose natural remedy that works for so many things!
FAQs About Homemade Vapor Rub
How long does homemade vapor rub last?
When stored properly in a sealed container, your DIY vapor rub lasts 6-12 months. I always label mine with the date I made it. Store it in a cool, dry place away from direct sunlight.
Can I use homemade vapor rub on babies?
Only use vapor rub on babies over 3 months old, and always use a gentler recipe with fewer essential oils. Check with your pediatrician first, especially for babies under 2 years old.
What’s the best essential oil for congestion?
Eucalyptus oil is hands down the best for opening airways. Peppermint is also excellent for that cooling, clearing effect. Both work great for sinus infections too!
Is DIY vapor rub as effective as store-bought?
In my experience, yes! My homemade versions work just as well, plus they don’t have synthetic ingredients. According to DIY Natural, many people find natural versions more effective.
Can I make vapor rub without essential oils?
While essential oils provide the therapeutic benefits, you can make a basic chest rub with just menthol crystals and a carrier oil. However, you’ll miss out on the amazing aromatherapy benefits!
Why is my homemade vapor rub too hard?
You probably used too much beeswax. Next time, reduce the beeswax or add more carrier oil to get the right consistency. The ideal texture should be similar to store-bought versions.
How much vapor rub should I use?
A small amount goes a long way! Use about a teaspoon for adults, less for children. Rub it on chest, back, and under the nose. Don’t over-apply as essential oils are potent.
Can I add other ingredients to my natural vapor rub?
Absolutely! Some people add menthol crystals, vitamin E oil, or different essential oils like pine or cedar. You can also experiment with different carrier oils for various benefits.
Is homemade vapor rub safe during pregnancy?
Some essential oils aren’t recommended during pregnancy. Stick to mild oils like lavender and always consult your doctor first. Avoid eucalyptus and peppermint in the first trimester.
Conclusion: Your Journey to Natural Wellness
Making your own homemade vapor rub has been one of my favorite DIY projects! It’s so easy, costs way less than store-bought versions, and I know exactly what’s in it.
Whether you choose the coconut oil version, the one with beeswax, or the kid-safe recipe, you’ll love having this natural chest rub on hand during cold season.
Start with the basic recipe I shared and then experiment with different essential oil combinations. You’ll find your perfect blend in no time! Don’t forget to check out my other natural remedy guides like essential oils for mosquito bites and room spray recipes.
Remember, this DIY vapor rub is just one way to embrace natural wellness in your beauty and health routine. Your skin (and your family) will thank you for choosing clean, natural ingredients over synthetic alternatives.
I’d love to hear which recipe you try first. Drop a comment and let me know how your DIY vapor rub turns out. Happy crafting, beautiful!
Looking for more natural beauty and wellness tips? Check out our guides on lemongrass oil benefits for skin and neem oil spray for more DIY inspiration!


Leave a Reply