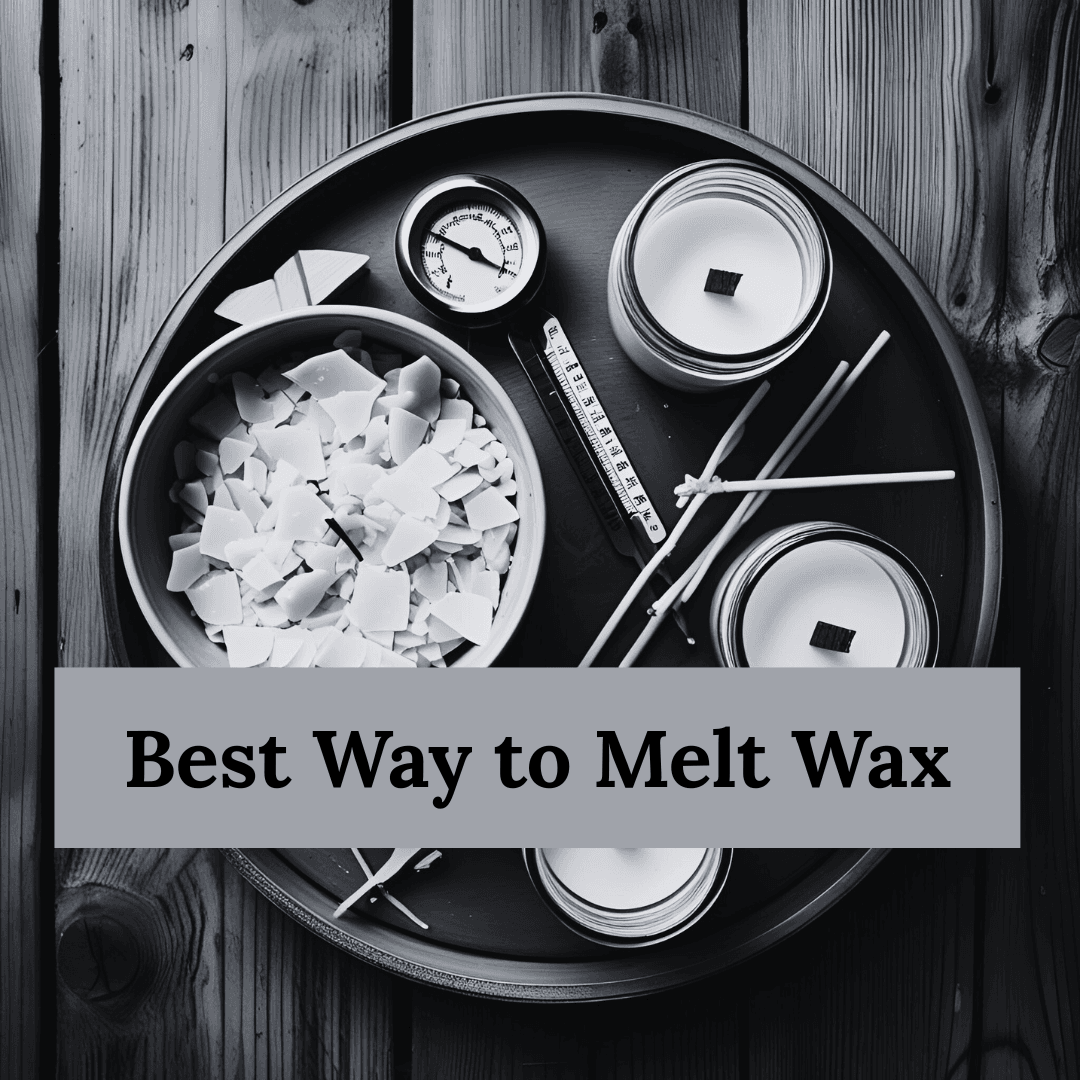
Hey gorgeous! Are you ready to dive into the amazing world of DIY candle making? I’ve been making candles for years now, and let me tell you – knowing how to melt wax properly is the secret to creating those Instagram-worthy candles that smell divine and burn perfectly.
Today I’m sharing everything I’ve learned about melting wax safely and effectively. Whether you’re a complete beginner or looking to improve your candle-making skills, this guide will help you create beautiful candles that rival any expensive store-bought ones.
Plus, I’ll show you how to enhance your candles with amazing scents – just like I do with my essential oil blending techniques!
Table of Contents
What Temperature Does Candle Wax Melt At?
Before we jump into the methods, let’s talk about wax melting temperatures. Different waxes melt at different points, and knowing this is super important for perfect results.
I always keep a candle thermometer handy because getting the temperature right makes all the difference. Trust me, I learned this the hard way when I first started! Just like when I’m creating the perfect room spray blend, precision is everything.
Understanding Different Wax Melting Points
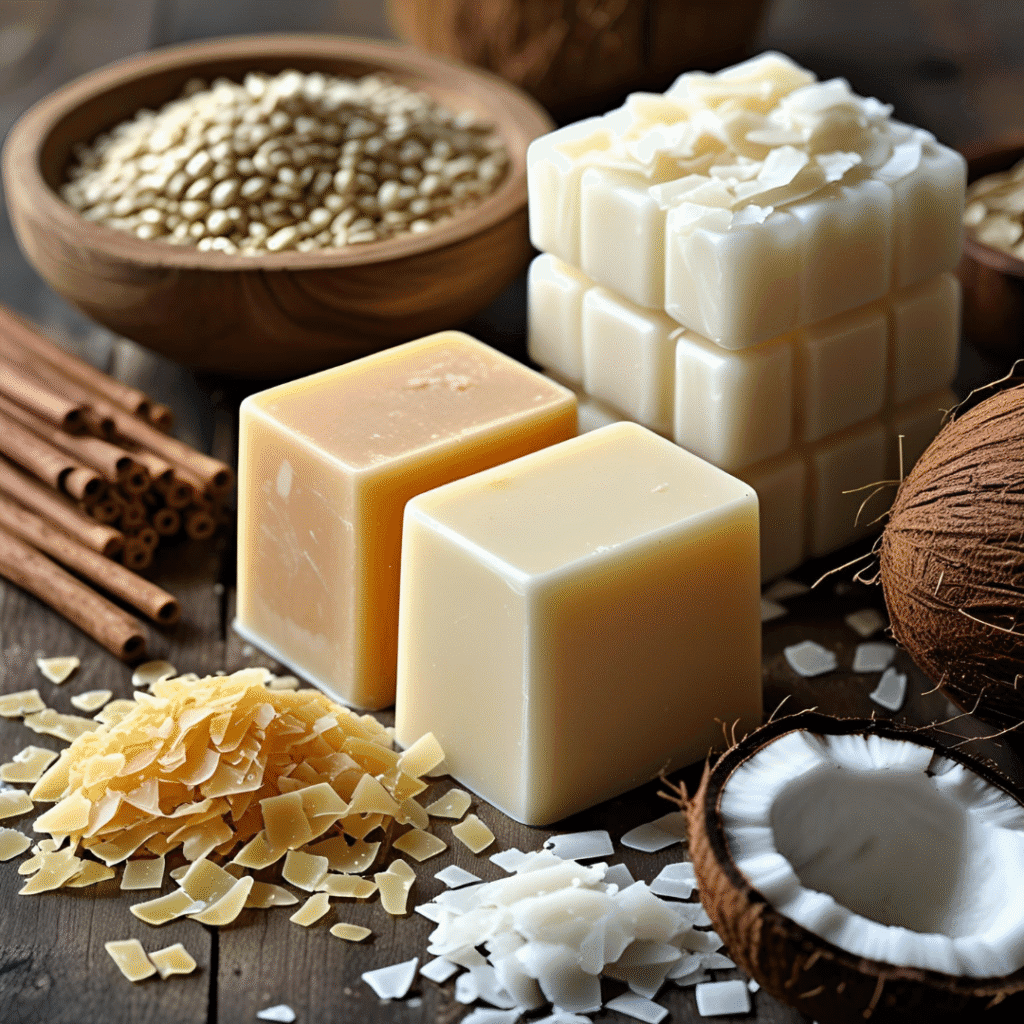
Melting Point of Soy Wax
Soy wax is my personal favorite for beginners. Low-melt soy wax melts at 130 degrees Fahrenheit, while high-melt soy wax melts at 150 degrees Fahrenheit. It’s so forgiving and eco-friendly too!
I love how soy wax burns cleaner and longer than other types. Plus, it holds fragrance oils beautifully, making your homemade candles smell amazing. For the best scent combinations, check out my guide on essential oil blends for relaxation – these work wonderfully in candles too!
Melting Point of Paraffin Wax
Paraffin wax is the most common type you’ll find in stores. Paraffin wax comes in several grades that melt between 46-68°C (115-155°F). It’s affordable and easy to work with, perfect when you’re just starting out.
I often recommend paraffin for first-time candle makers because it’s so reliable and predictable.
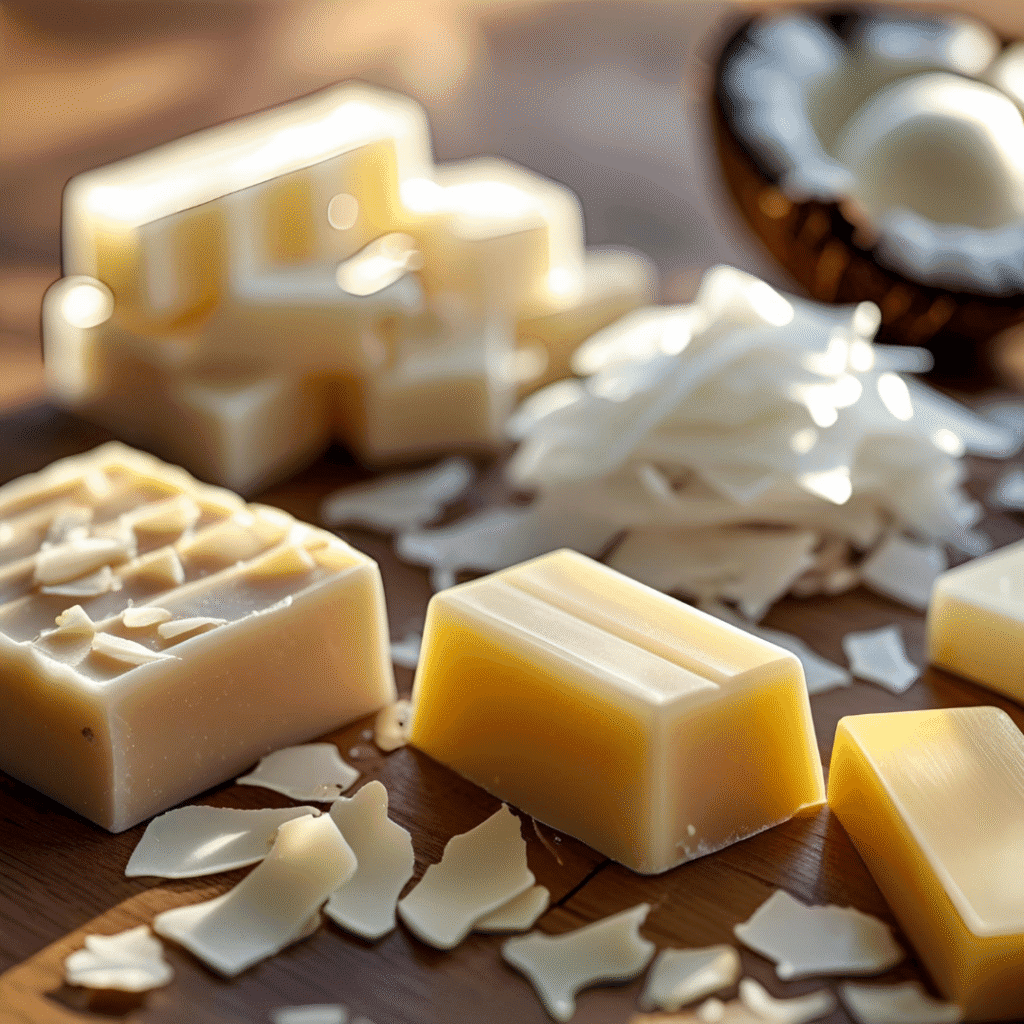
Melting Point of Coconut Wax
Coconut wax is definitely the luxury option! The melting point for coconut wax is 51-53°C (124F-127°F), making it one of the lowest melting point waxes available.
While it’s pricier, coconut wax creates the smoothest texture and holds fragrances exceptionally well. Perfect for those special occasion candles!
How to Melt Wax for Candles: Top Methods
Now let’s get into the fun part – actually melting the wax! I’ve tried every method out there, and these are my top three favorites.
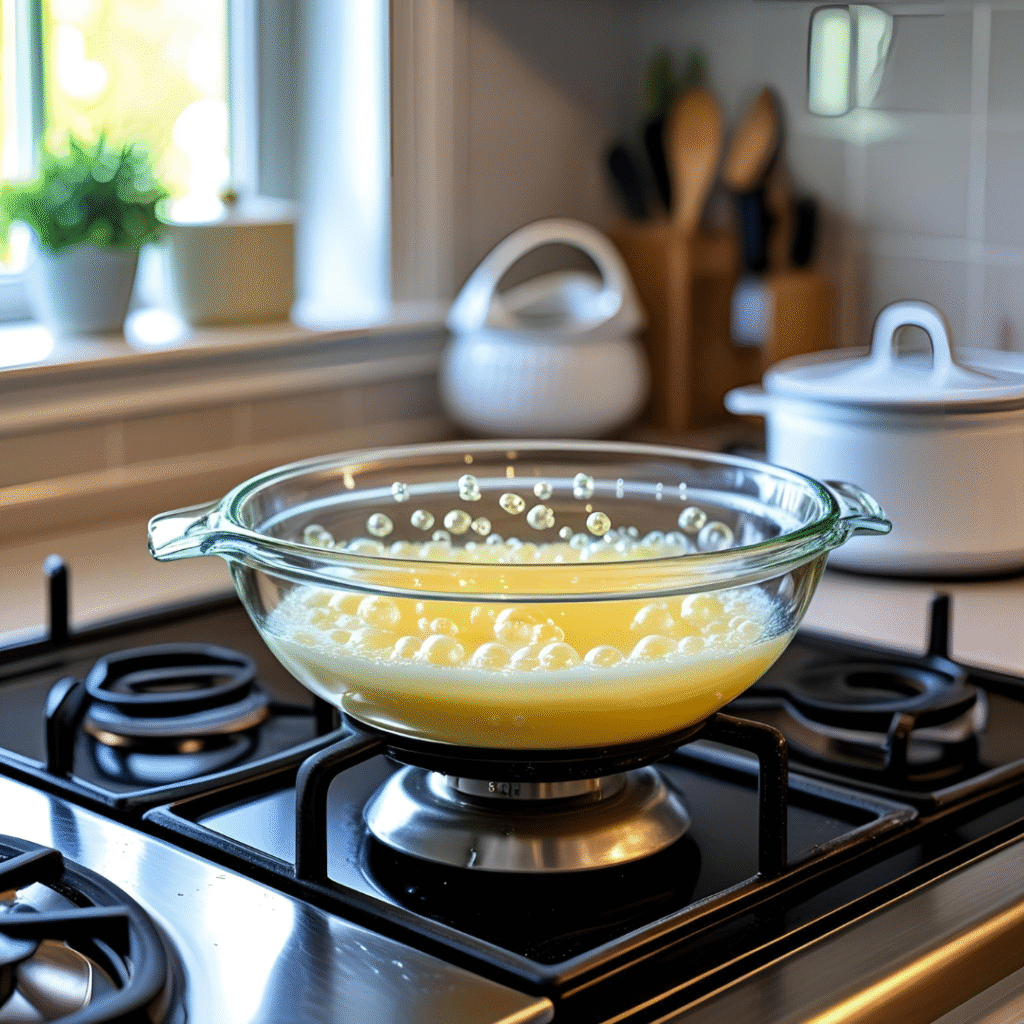
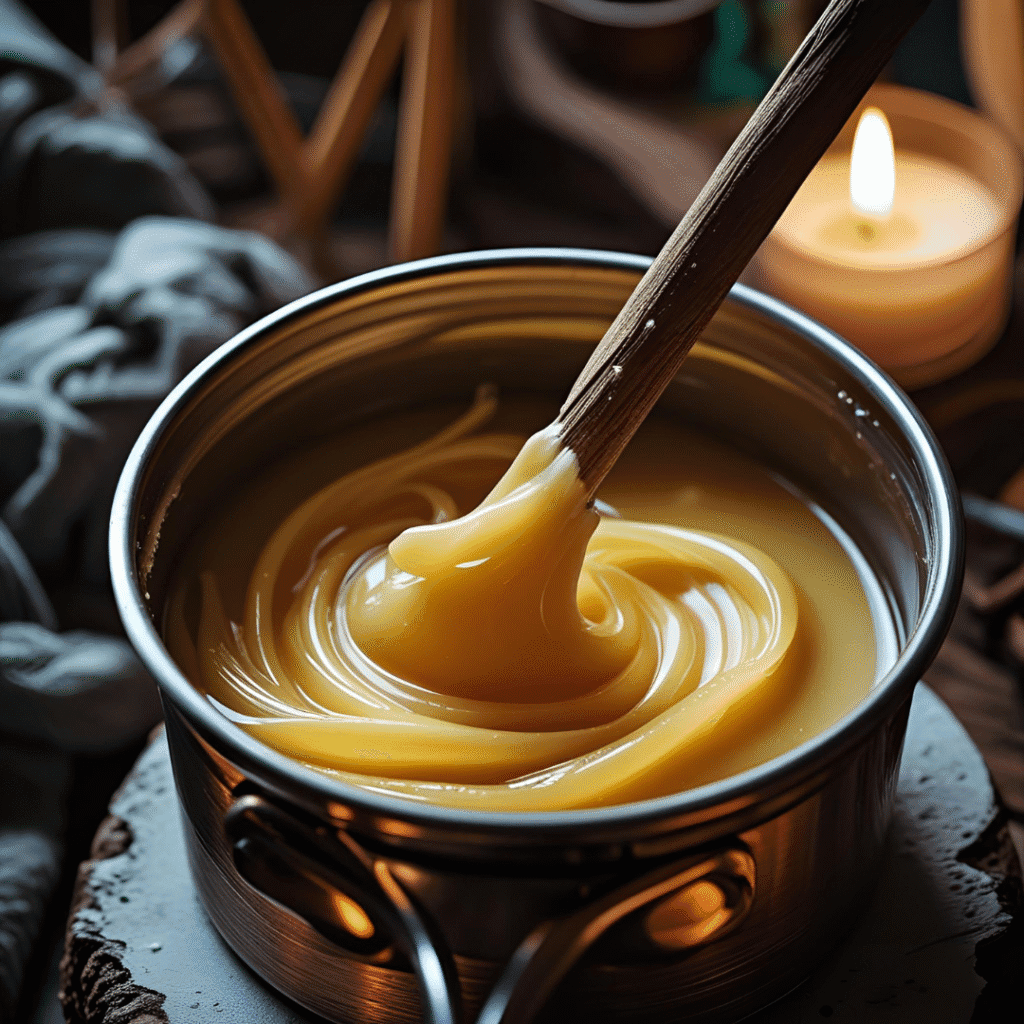
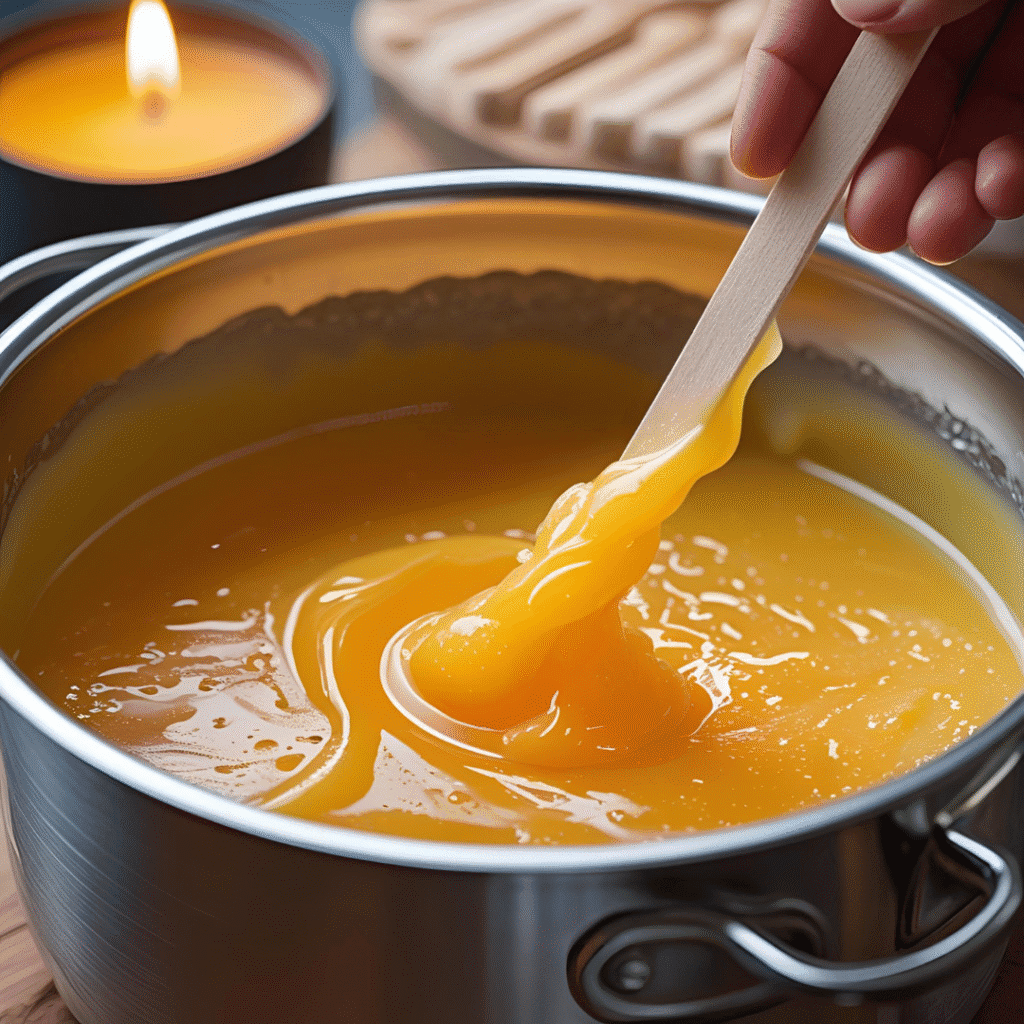
The Double Boiler Method (My Personal Favorite!)
This is hands-down the best way to melt wax safely. I use this method 90% of the time because it gives me complete control over the temperature.
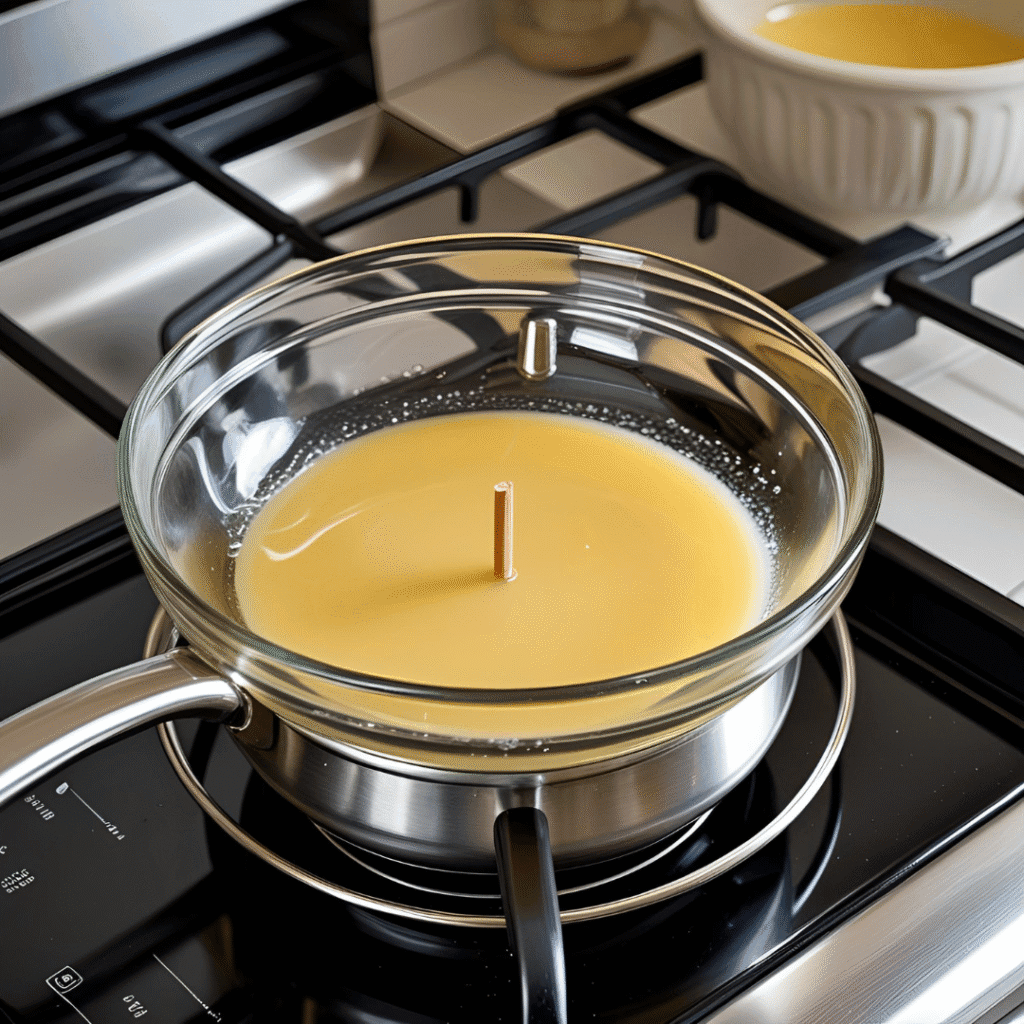
Here’s how I do it:
Fill a large pot with about 2 inches of water and bring it to a gentle simmer. Place a heat-safe glass bowl or melting pot on top, making sure the bottom doesn’t touch the water.
Add your wax pieces to the bowl and let them melt slowly. I usually stir occasionally with a wooden stick to ensure even melting.
The best part? The water temperature naturally keeps your wax from overheating. It’s foolproof!
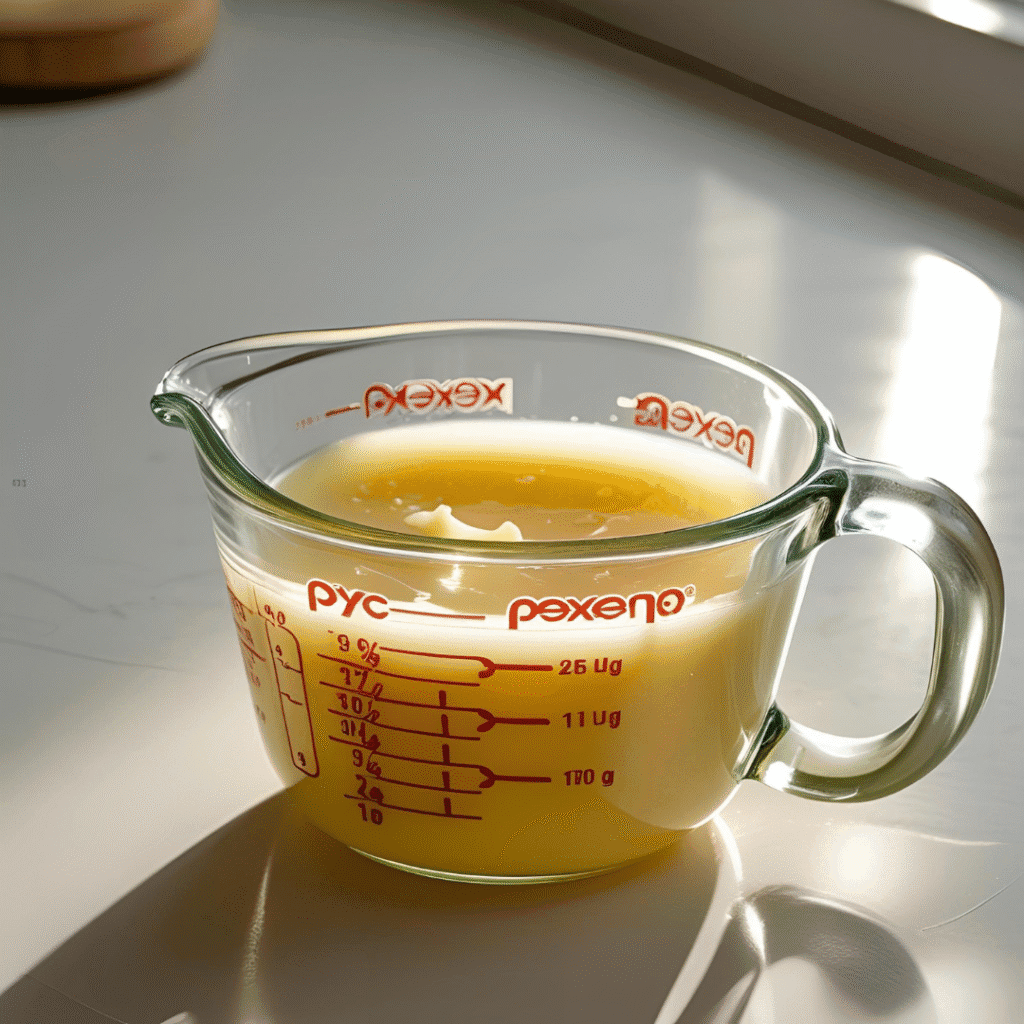
The Microwave Method (Quick and Easy)
When I’m in a hurry, the microwave method is perfect. It’s super convenient, especially for small batches.
Cut your wax into small, uniform pieces for even melting. Place them in a microwave-safe container – I love using glass measuring cups.
Heat in 30-second intervals at 50% power. After each interval, stir the wax and check the temperature. This prevents overheating and hot spots.
Pro tip: Never leave the microwave unattended! Wax can quickly overheat and become dangerous.
Electric Wax Melting Pot Method
If you’re serious about candle making, investing in an electric wax melter is game-changing. Learn How To Use an Electric Wax Melting Pot, Double Boiler, or Microwave to Melt Wax.
These pots maintain consistent temperatures automatically. Just add your wax, set the temperature, and wait! It’s perfect for larger batches.
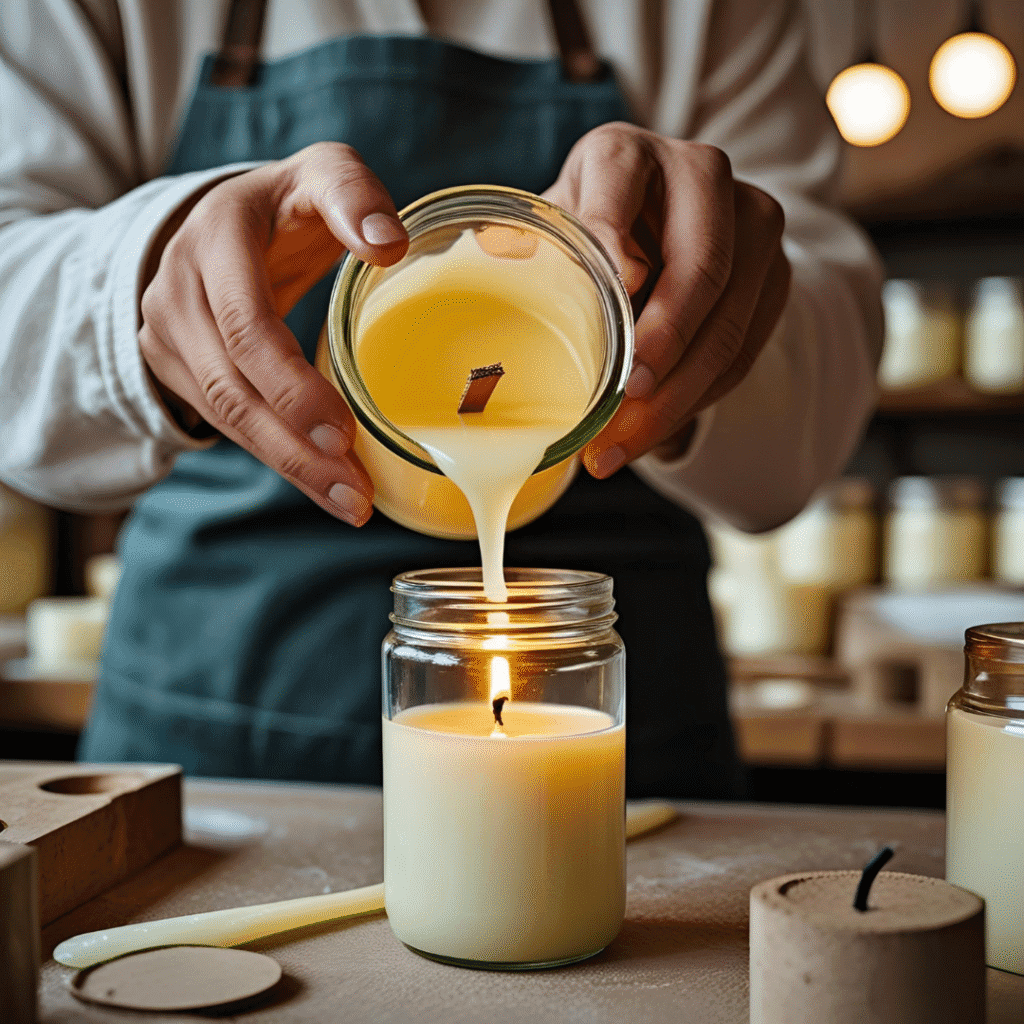
How to Melt Wax from Old Candles
Don’t throw away those old candles, babe! I love upcycling old candles into new ones. It’s eco-friendly and saves money.
First, remove any remaining wick and debris. I use a butter knife to scrape out the old wick holders.
Break the old wax into small pieces. If it’s hard, I sometimes put it in the freezer for an hour – it breaks apart much easier when cold.
Use any of the melting methods above. Just remember that old wax might have different melting points mixed together, so go slow and keep stirring.
How to Fix a Candle That Has Melted Incorrectly
We’ve all been there – your beautiful candle has turned into a waxy mess! Don’t panic, it’s totally fixable.
Use a Heat Gun or Hair Dryer
This is my go-to method for fixing uneven surfaces. Hold the heat gun or hair dryer about 6 inches away from the candle surface.
Move it in circular motions to gently re-melt the top layer. The wax will smooth out beautifully!
Be patient and work slowly. Too much heat too quickly can make things worse.
Use Aluminum Foil
For deeper fixes, I create a little foil collar around the candle. This helps contain the melted wax and creates an even surface as it cools.
Simply wrap aluminum foil around the candle, leaving about an inch above the wax level. Light the candle and let it burn until the surface is even.
Essential Tips for First-Time Candle Makers
Starting your candle-making journey? Here are my best tips that I wish someone had told me when I started:
Always use a thermometer. Guessing temperatures leads to poor-quality candles. Trust me on this one!
Start with soy wax. It’s the most forgiving for beginners and smells amazing.
Prep your workspace. Wax can get messy, so cover surfaces with newspaper or parchment paper.
Have patience. Rushing the cooling process leads to cracks and uneven surfaces.
Keep detailed notes. Write down what works and what doesn’t for future reference.
How to Melt Leftover Candle Wax Safely
I never waste leftover wax! Here’s how I handle those bits and pieces:
Collect all your leftover wax pieces in a container. I separate them by color and scent to avoid muddy combinations.
For small amounts, the microwave method works perfectly. For larger quantities, I stick with the double boiler method.
Strain the melted wax through a fine mesh to remove any debris or old wick pieces.
Important Safety Tips for Melting Wax
Safety first, beautiful! Melting wax involves high temperatures, so let’s keep things safe:
Never leave melting wax unattended. Hot wax can quickly become dangerous.
Keep a lid nearby. If wax catches fire, never use water! Cover with a lid to smother flames.
Work in a well-ventilated area. Some waxes can produce fumes when heated.
Wear protective gear. I always wear closed-toe shoes and keep oven mitts handy.
Have a fire extinguisher nearby. Better safe than sorry!
Never heat wax above 200°F. Higher temperatures can cause dangerous fumes and flash fires.
Choosing the Right Wax for Your Project
Different projects call for different waxes. Here’s my quick guide:
Container candles: Soy wax or coconut wax work beautifully Pillar candles: Paraffin or beeswax hold their shape better
Wax melts: Any wax works, but soy gives amazing scent throw Luxury candles: Coconut wax for the smoothest finish
Troubleshooting Common Wax Melting Problems
Wax won’t melt evenly? Cut it into smaller, uniform pieces first.
Getting white spots on cooling? Your wax cooled too quickly – try a warmer room.
Wax is smoking? Temperature is too high – reduce heat immediately.
Lumpy texture? Stir more frequently while melting.
Storage Tips for Melted Wax
Proper storage keeps your melted wax perfect for future use:
Store in airtight containers to prevent dust and debris. I love using glass jars with tight lids.
Label containers with wax type and melting date. This helps me keep track of what I have.
Keep in a cool, dry place away from direct sunlight.
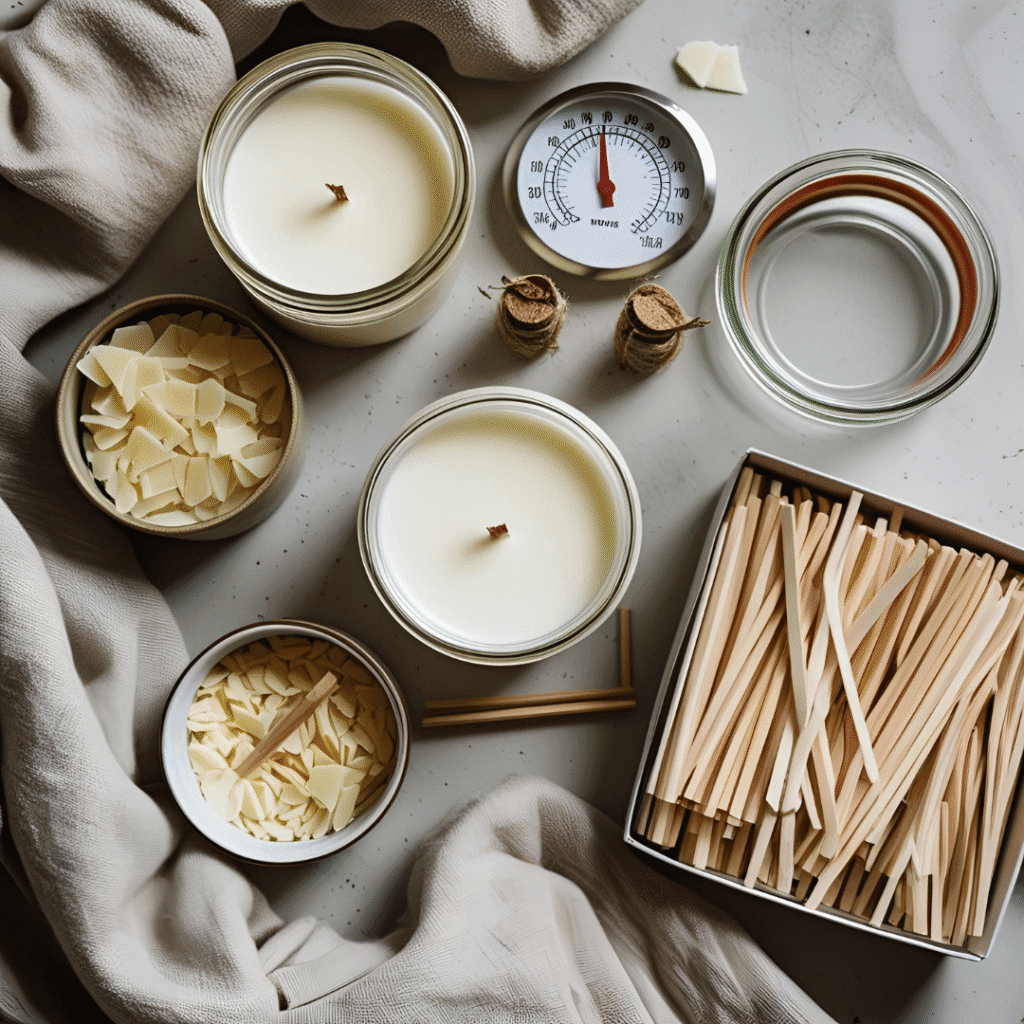
Best Tools for Wax Melting
Having the right tools makes everything easier:
- Digital thermometer (absolute must-have!)
- Heat-resistant containers
- Wooden stirring sticks
- Measuring cups for portioning
- Oven mitts for safety
- Fine mesh strainer for filtering
FAQs
1. What’s the best way to melt wax for beginners?
The double boiler method is perfect for beginners because it’s the safest and gives you complete control over temperature. Start with soy wax since it’s the most forgiving.
2. Can I melt different types of wax together?
Yes, but be careful! Different waxes have different melting points and properties. I recommend sticking to one type until you’re more experienced.
3. How do I know when my wax is ready to pour?
Your wax should be completely liquid with no solid pieces remaining. The ideal pouring temperature varies by wax type, but generally between 130-150°F works well.
4. Is it safe to melt wax in the microwave?
Yes, but only in short intervals at reduced power. Always use microwave-safe containers and never leave it unattended.
5. Why does my melted wax look cloudy?
Cloudy wax usually means it’s been overheated or cooled too quickly. Try remelting at a lower temperature and cooling more slowly.
6. Can I reuse old candle wax?
Absolutely! Remove any wick debris and old fragrance, then remelt using any standard method. It’s a great way to create new candles economically.
7. How long does it take to melt wax completely?
This depends on the amount and method. Small amounts in the microwave take 2-3 minutes, while larger batches using the double boiler method can take 15-30 minutes.
8. What temperature is too hot for melting wax?
Never exceed 200°F when melting wax. Most waxes work best between 120-180°F. Higher temperatures can create dangerous fumes.
9. Do I need special equipment to melt wax?
Basic melting only requires a heat source and container, but a thermometer is highly recommended. For frequent candle making, consider investing in a dedicated wax melter.
Conclusion
There you have it, gorgeous – everything you need to know about melting wax like a pro! The best way to melt wax really depends on your situation, but I always recommend starting with the double boiler method for safety and control.
Remember, candle making is both an art and a science. Don’t get discouraged if your first attempts aren’t perfect – I certainly made my share of mistakes when starting out!
The key is to practice, take notes, and most importantly, have fun with it. There’s something so therapeutic about creating beautiful, fragrant candles with your own hands.
Start with simple projects using soy wax, master your melting technique, and gradually experiment with different wax types and methods. Before you know it, you’ll be creating stunning candles that make perfect gifts or gorgeous additions to your home decor.
Happy candle making, beautiful! I can’t wait to see what amazing creations you come up with. Remember to always prioritize safety, and don’t hesitate to start small and work your way up to more complex projects.
Keep experimenting, keep creating, and keep shining!


Leave a Reply