Hello gorgeous women! I understand the frustration that comes when you want to redecorate but there’s that unused mirror glued to the wall waiting for you. I’ve been there, trust me!
A month ago, I did a full bathroom renovation, and taking out that enormous bathroom mirror was the most difficult part. But surprise surprise! I discovered the way to do it without cracking anything (not even my nails!).
Let me tell you all I discovered about how to safely and easily remove mirror glued to wall.
Table of Contents
Things to Know Before You Remove Mirror Glued To Wall
Before we dive into the good stuff, there are some essentials I wish I had known before I undertook my first mirror removal project.
Safety Precautions
Safety comes first, ladies! Here’s what I always do before starting any DIY mirror removal:
I always wear protective glasses to guard my eyes against flying glass fragments. No matter how careful I am with technique, there are always tiny glass shards flying around.
Thick gloves are imperative. I learned the hard way when I attempted to remove a big bathroom mirror with no hand protection.
I ensure that I put on closed-toe shoes. High heels may be cute, but they’re not the best for this type of work!
Ensure that someone assists you, particularly when removing large mirrors. These mirrors weigh more than you imagine.
Tools You Will Need
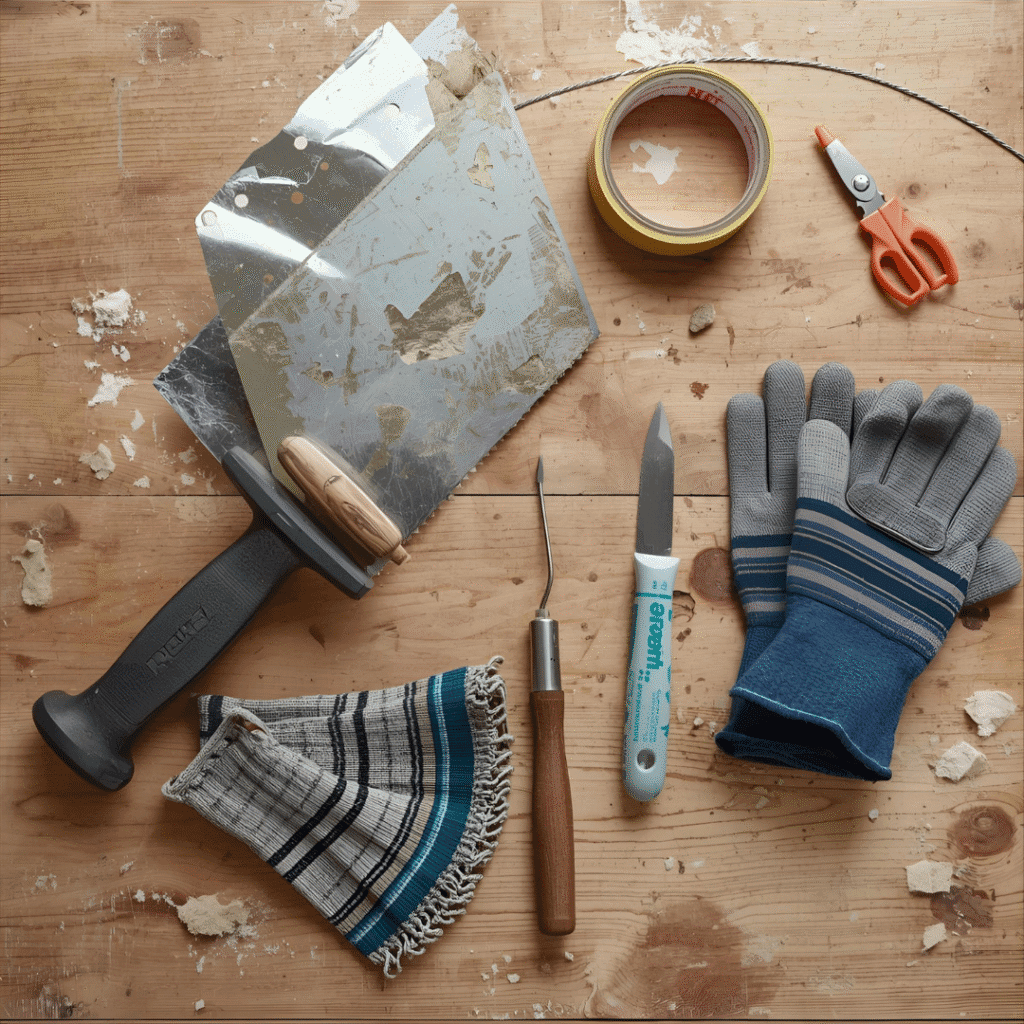
Here are the essential tools to remove mirror glued to wall:
- Heat gun or hair dryer
- Putty knife or paint scraper
- Wire saw or windshield removal wire
- Adhesive remover (like WD-40 or commercial products)
- Plastic sheeting or cardboard
- Duct tape
- Scrubbing pad
- Clean cloths
I have all of these tools in my DIY kit since they can be used for numerous home improvement tasks.
Step 1: Prepare the Area and Yourself
First, I just sweep the whole space in front of the mirror. Take down all your lovely things, your toiletries, and whatever you have sitting there that might get broken.
I put down thick cardboard or plastic sheeting on the floor. This catches glass fragments and makes the cleanup such an easy job.
Now, I secure plastic sheeting over the mirror section on the wall. This keeps my lovely wall paint safe from damage as you go through the DIY mirror removal process.
Wear all your protective gear prior to touching anything. I mean it!
Step 2: Loosen the Edges of the Mirror
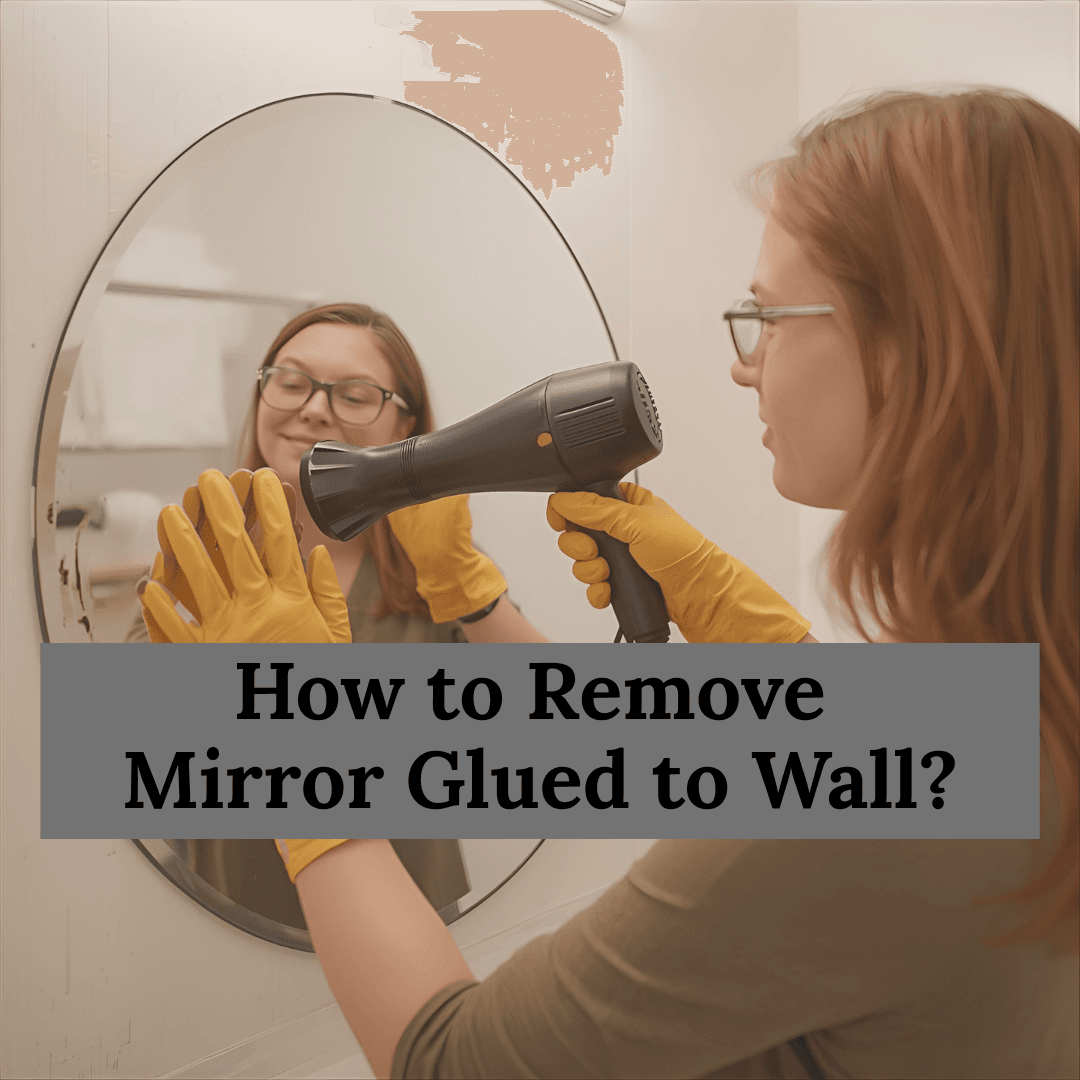
This is where patience truly comes in handy. I begin by taking my hair dryer and turning it on high heat and heating up one corner of the mirror.
The heat softens the adhesive, and it is much easier to handle. I keep the dryer roughly 6 inches from the mirror and slowly move it along the edges.
When the adhesive is warm, I slowly push a thin putty knife behind the mirror edge. I move extremely slow and carefully here.
I never push! If the mirror doesn’t move, I reheat it and try again.
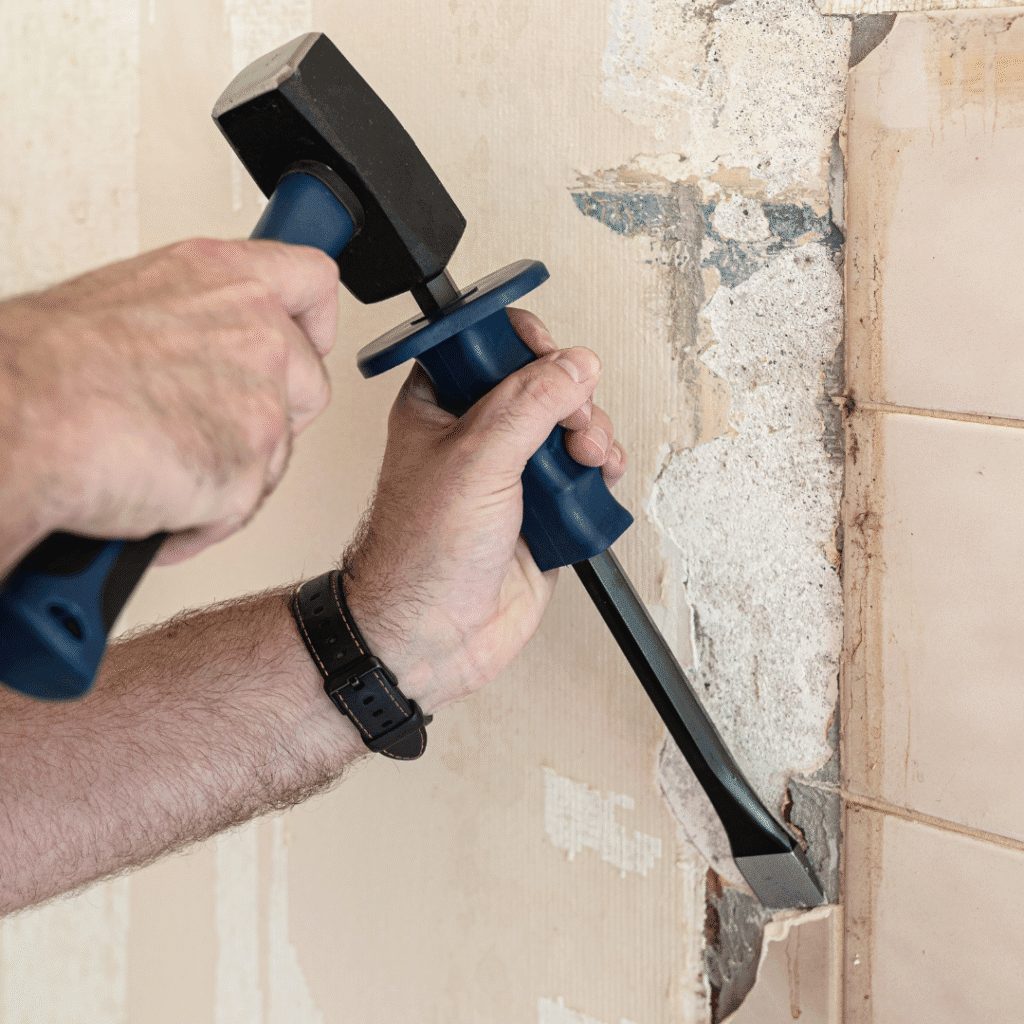
Step 3: Use the Right Tools to Cut Through Adhesive
Now is the time when having the proper tools is everything. To remove mirror adhesive, I will use a wire saw or windshield removal wire.
I inserted the wire behind the mirror and looked back and forth like it’s a real saw. This slices through even the strongest construction adhesives.
The method using a wire saw is what the professionals do, and it is fantastic to use for removing bathroom mirrors.
If the glue is quite stubborn, I spray some adhesive remover onto the wire. This makes it more easily slide through the glue.
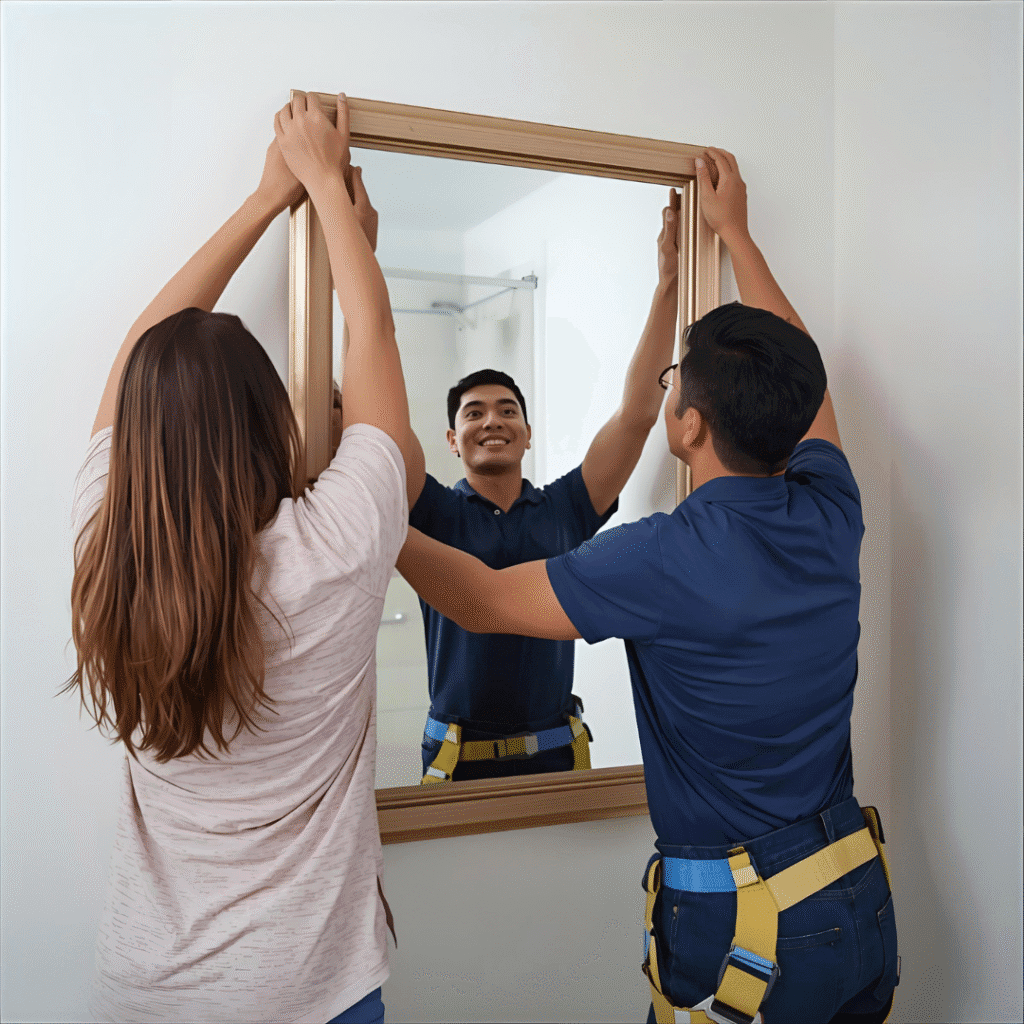
Step 4: Safely Remove the Mirror from the Wall
This is the best part! After I’ve cut the majority of the glue away, the mirror will begin to detach from the wall.
I have my helper standing by at this juncture at all times. We both take opposite sides of the mirror and lift it slowly and steadily.
The trick to safe mirror removal is never to hurry this process. We both lift it together and take the mirror to a safe location right away.
I never attempt to catch a falling mirror! If it begins to slide, I release it and move out of the way.
Step 5: Clean Off Remaining Adhesive or Glue
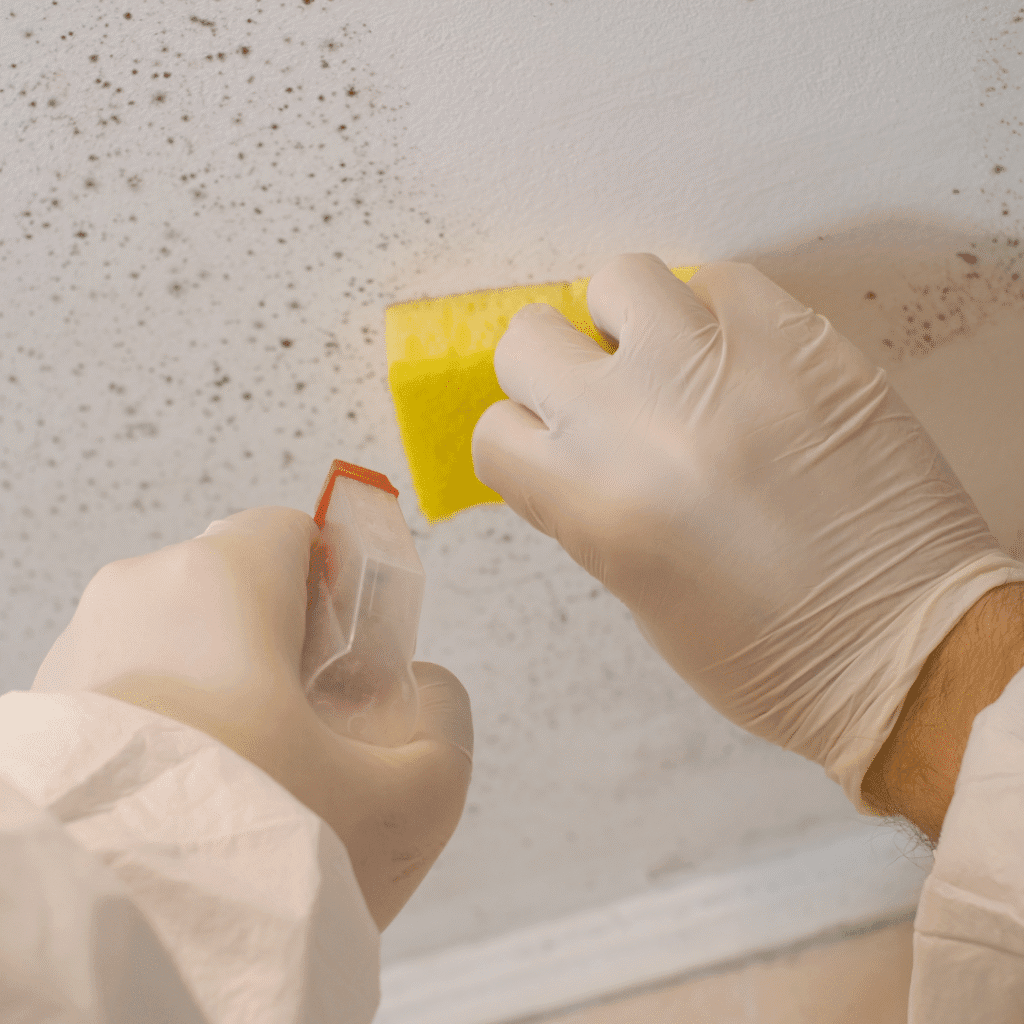
Once I’ve removed the mirror, I’m most often left with globs of adhesive on the wall. Don’t panic – this is completely normal!
I apply a commercial adhesive remover or even WD-40 to loosen up the remaining glue. I spray it on and let it linger for a few minutes.
Next, I scrape off the softened adhesive with my putty knife. For very stubborn areas, I use a scrubbing pad.
The idea is to get the wall as smooth as possible for whatever gorgeous update is coming next!
Why Choose the Carpet Shield Technique for Removing a Mirror?
I found this genius trick that makes mirror removal without breaking so much more accessible.
How It Works
Carpet shield method is placing a large sheet of cardboard or heavy plastic against the wall at and below the mirror with tape, making a “carpet” on the wall to catch breaking pieces.
This technique functions by having any glass that will break during removal caught. It is like having a safety net!
Advantages of This Method
The biggest advantage is peace of mind. I’m aware that even if there’s an issue, the mess will be contained.
It also makes cleanup a breeze. Rather than searching for little pieces of glass everywhere in my bathroom, everything remains in one location.
This method is ideal for big bathroom mirror removal where the breakage risk is greater.
Common Mistakes to Avoid When You Remove Mirror Glued To Wall
Let me give some examples of the mistakes I made (so you don’t have to!):
Never attempt to rush the process. I once attempted to remove a mirror within 30 minutes and have a broken mirror and bent drywall.
Don’t omit the heating stage. Cold adhesive is much more difficult to deal with and more likely to result in the mirror breaking.
Never carry big mirrors alone. I learned this the hard way when I nearly dropped a 4-foot mirror because I believed I could do it by myself.
Don’t forget to switch off electricity if you’re working on an electrical outlet. Safety is always first!
Never use metal tools against the surface of the mirror. This can lead to scratches or cracks.
What to Do with the Wall After Mirror Removal
After you’ve removed your wall mirror successfully, the wall normally requires some work.
I always begin by scrubbing off all of the adhesive residue thoroughly. Any remaining glue will be visible through paint or wallpaper.
Inspect for any damage to the drywall. Minor holes or scratches are simple to repair with some spackling compound.
If you’re painting, I would suggest a good primer first. This will make your new color look just right.
For greater damage, you may have to fix the drywall. Don’t panic – it’s simpler than you believe!

FAQs About Remove Mirror Glued to Wall
1. Is it possible to remove mirror glued to wall without breaking it?
Yes! If you’ve got the right tools and technique, you can easily get a mirror off without breaking it. The trick is applying heat to soften the adhesive and doing it slowly with the right tools such as a wire saw.
2. What’s the best tool for cutting through mirror adhesive?
A windshield removal wire or wire saw works best for cutting through construction adhesive. These tools are specifically designed for this type of work and give you the most control.
3. How long does it take to remove a large bathroom mirror?
For a large bathroom mirror, plan on 2-3 hours for the complete process. This includes prep time, the actual removal, and cleanup. Rushing leads to accidents and broken mirrors!
4. What is the best kind of adhesive remover to use on residual glue?
Commercial adhesive removers are excellent, but I’ve also had great luck with WD-40. Be sure to test any product on a small area before using it to ensure that it won’t harm your wall.
5. Do I require the services of a professional to remove a glued mirror?
Most homeowners should be able to do this DIY job with the proper tools and a bit of patience. But if you have a very big mirror (over 6 feet) or just feel uneasy with the process, it is always best to call a professional.
6. How do I protect my walls when I remove the mirrors?
Use tape and plastic sheeting to protect areas around the mirror. Also, move slowly and with the proper tools to avoid damaging the walls during removal.
7. What do I do if the mirror cracks during removal?
Stop at once and rethink your method. Use more heat to loosen the adhesive, and double-check you’re employing the proper tools. If the mirror is cracked, concentrate on safety and gentle removal of fragments.
8. Can I reuse a mirror that has been removed from the wall?
Sure! If you take it out gently without breaking, you can certainly reuse the mirror somewhere else in your house or even sell it. Just be sure to clean any adhesive residue from the reverse.
9. How do I dispose of a broken mirror safely?
Wrap the pieces of broken mirror in newspaper or cardboard, put them in a solid box, and mark it very clearly as “broken glass.” Ask your local waste management what the proper disposal procedure in your area is.
Conclusion
Taking down a mirror that is stuck to the wall need not be intimidating or impossible! Armed with the right equipment, proper protective gear, and a good dose of patience, you can tackle this DIY job like a pro.
Keep in mind, the secret to successful wall mirror removal is preparation and patience. Heat is your new best friend when it comes to softening that pesky adhesive, and having some assistance makes it safer and simpler.
I hope this tutorial will enable you to redesign your space just as I did! You’ll have a blank canvas to design something simply gorgeous once you remove mirror glued to wall.
Whether you’re doing a total bathroom renovation or simply looking to freshen up the decor, getting rid of that old glued mirror is usually the key to realizing the trendy look you’ve always envisioned.
Be safe, be patient, and have fun with your lovely new space! If you found this tutorial useful, please do not forget to share it with other ladies who may be struggling with the same DIY conundrum.
Happy decorating, lovely!
Want to learn about more such insights? Follow Style Up Ladies and unlock more tips and ideas for the future.


Leave a Reply